The CD-Y1 by CaptainYags

Greetings, employee!
As part of our brand-new intergalactic outreach program, you’ll be sent to one of many alien planets in an effort to contribute to Project Acquisition. It will be your exciting responsibly to catalog everything of note on the planet for future profit analysis.
To support you on your mission, we have provided this multi use data terminal. It will prove invaluable for research, record keeping, legally mandated companionship substitution, and supplemental mental stimulation.
Made with cutting edge print-on-demand technology and cost effective parts for maximum efficiency.
Good Luck, and remember; Always be productive!
SPECS
CPU: Raspberry Pi 3B+
Display: 7" 1024x600 Capacitive touchscreen
Interface: 87 key Keyboard with trackball
Power Supply: 5V 5A Step down voltage converter
Power Source: 4x 18650 liion batteries @ 2S 7.4V
OS: 32bit Raspberry Pi OS
Software: SteamLink, Arduino IDE
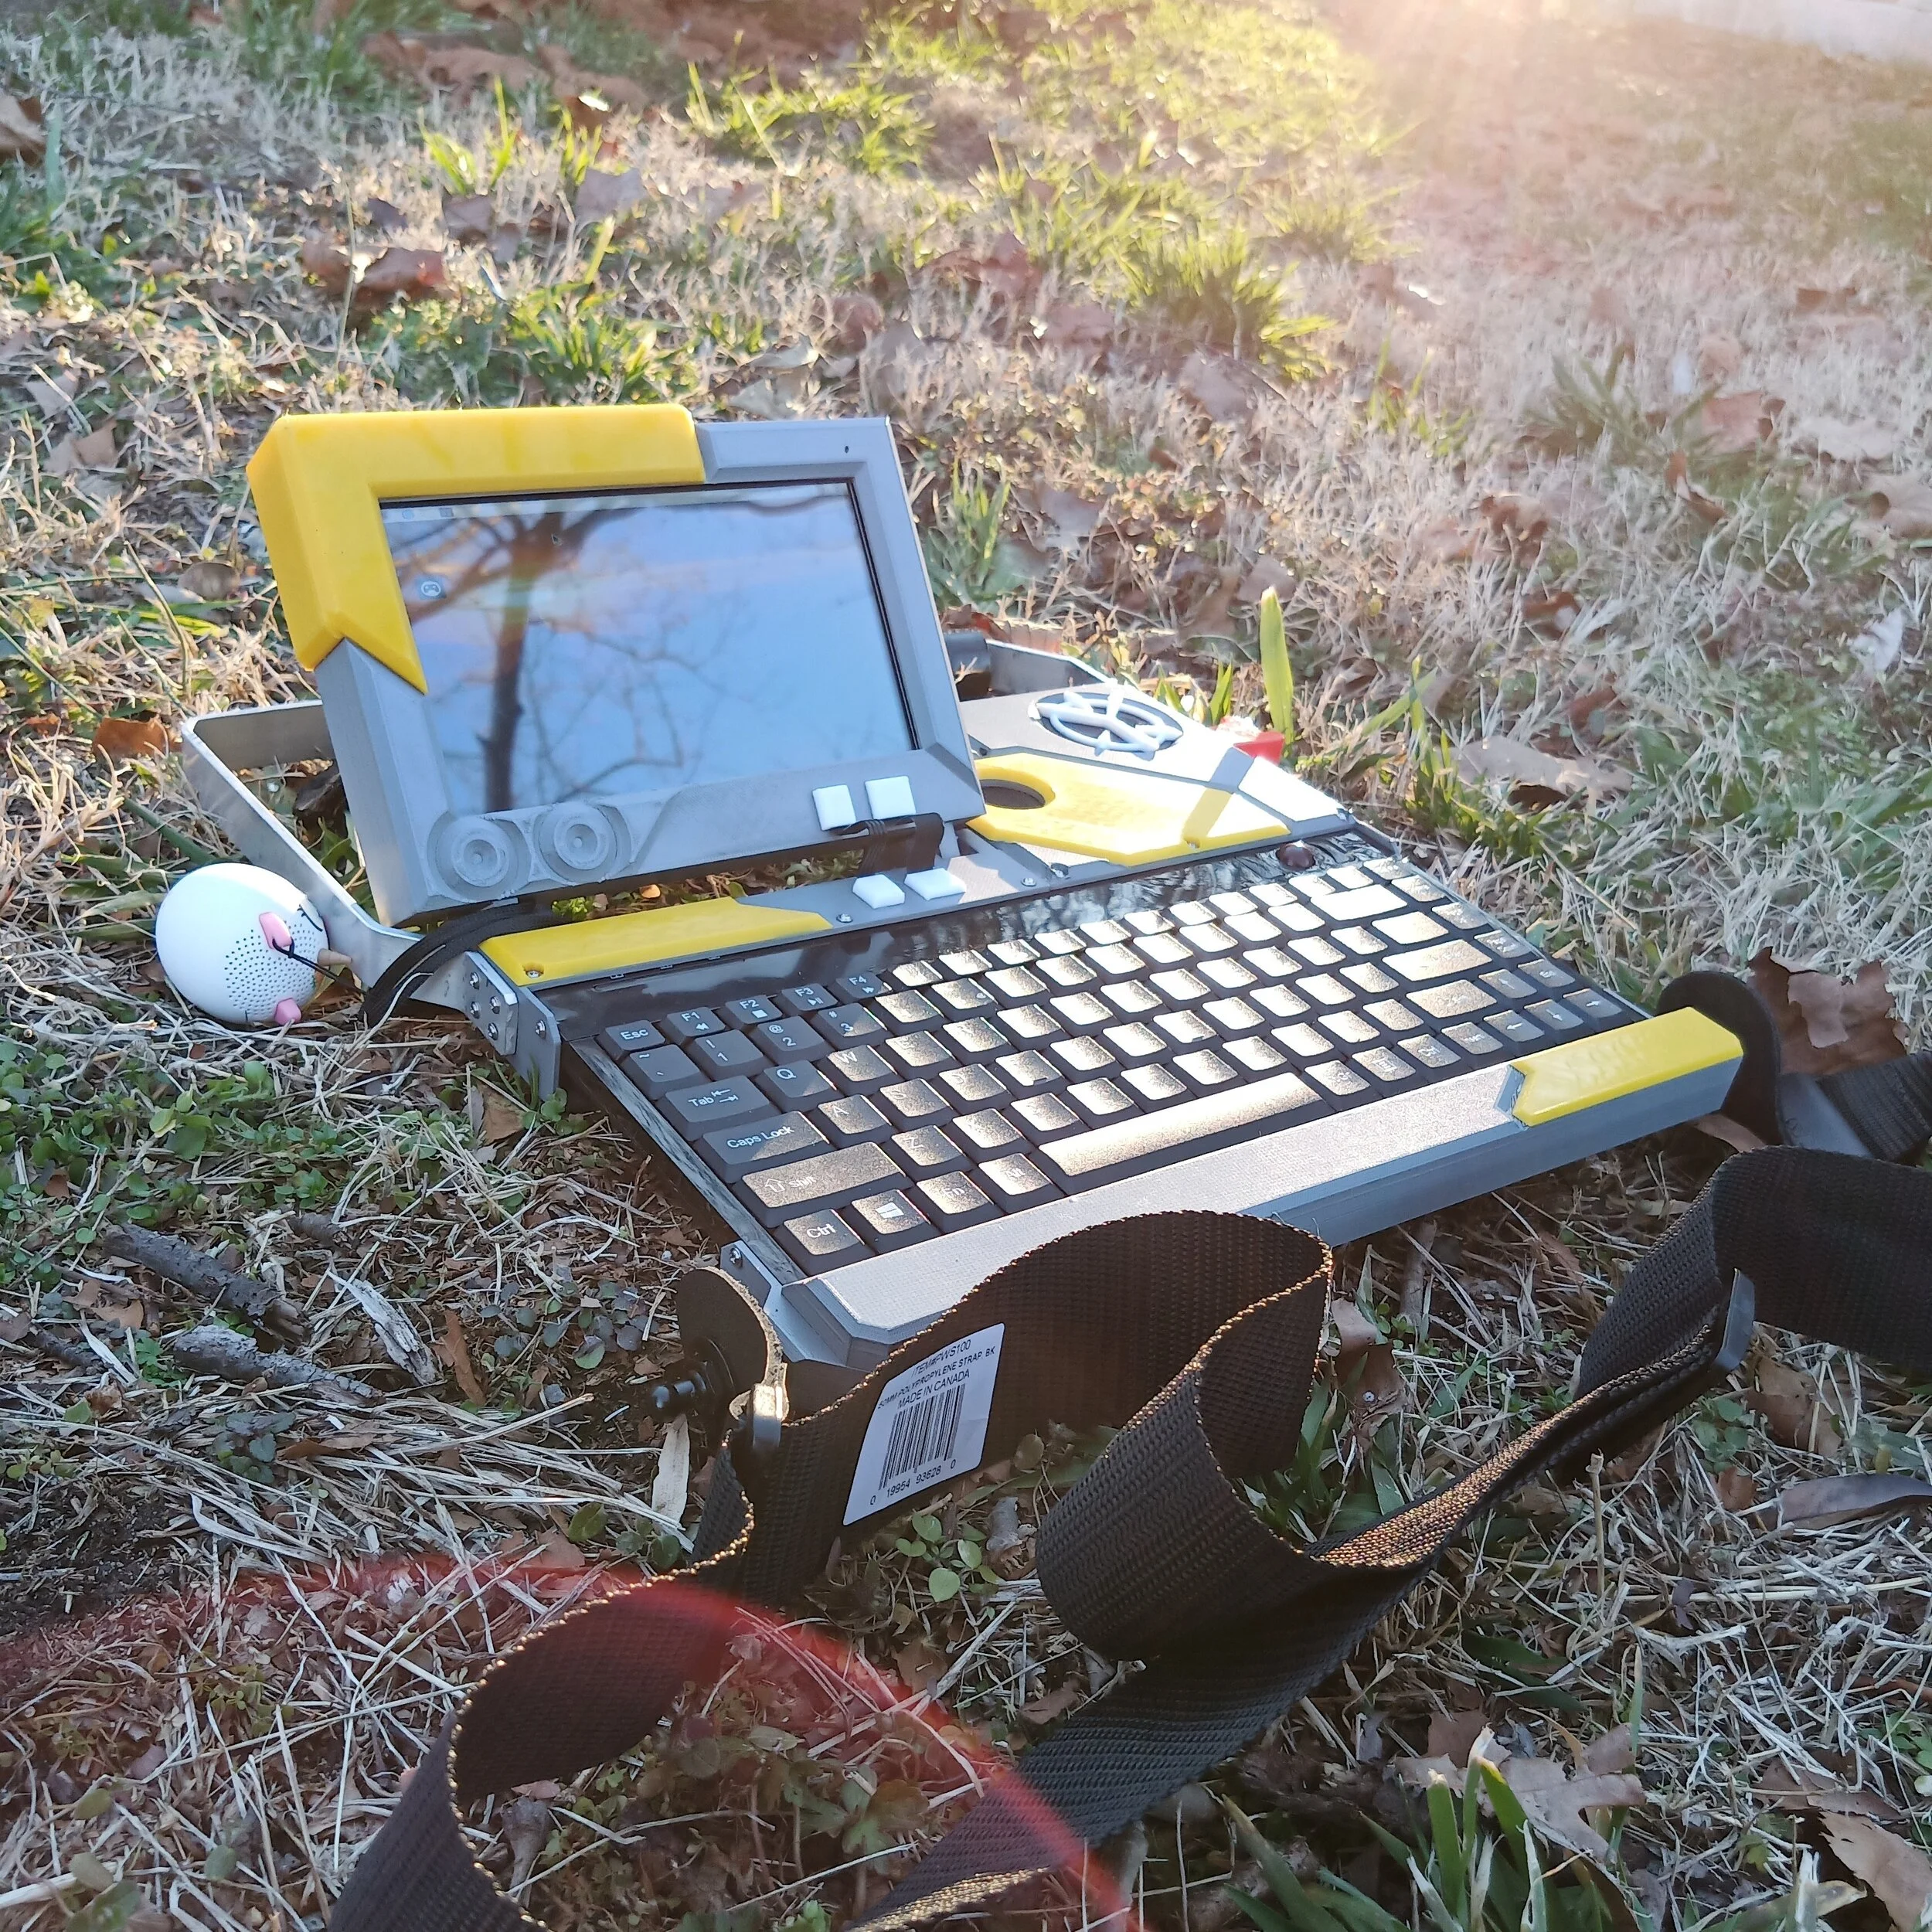
It didn't take long, seeing cyberdecks pop up in recommended links, before I HAD to make one. It helped fuel the fire when I learned there was a contest going on! The justification demon needed to be satisfied, so it had to be functional. Easy to see screen, keys that would work for typing or gaming, and it also had to be portable and somewhat durable. It also needed to consume some of the 18650s I had rotting on a shelf! I envisioned something the size of a large notebook (the kind with paper) that could either go in a messenger bag, or be worn like one.
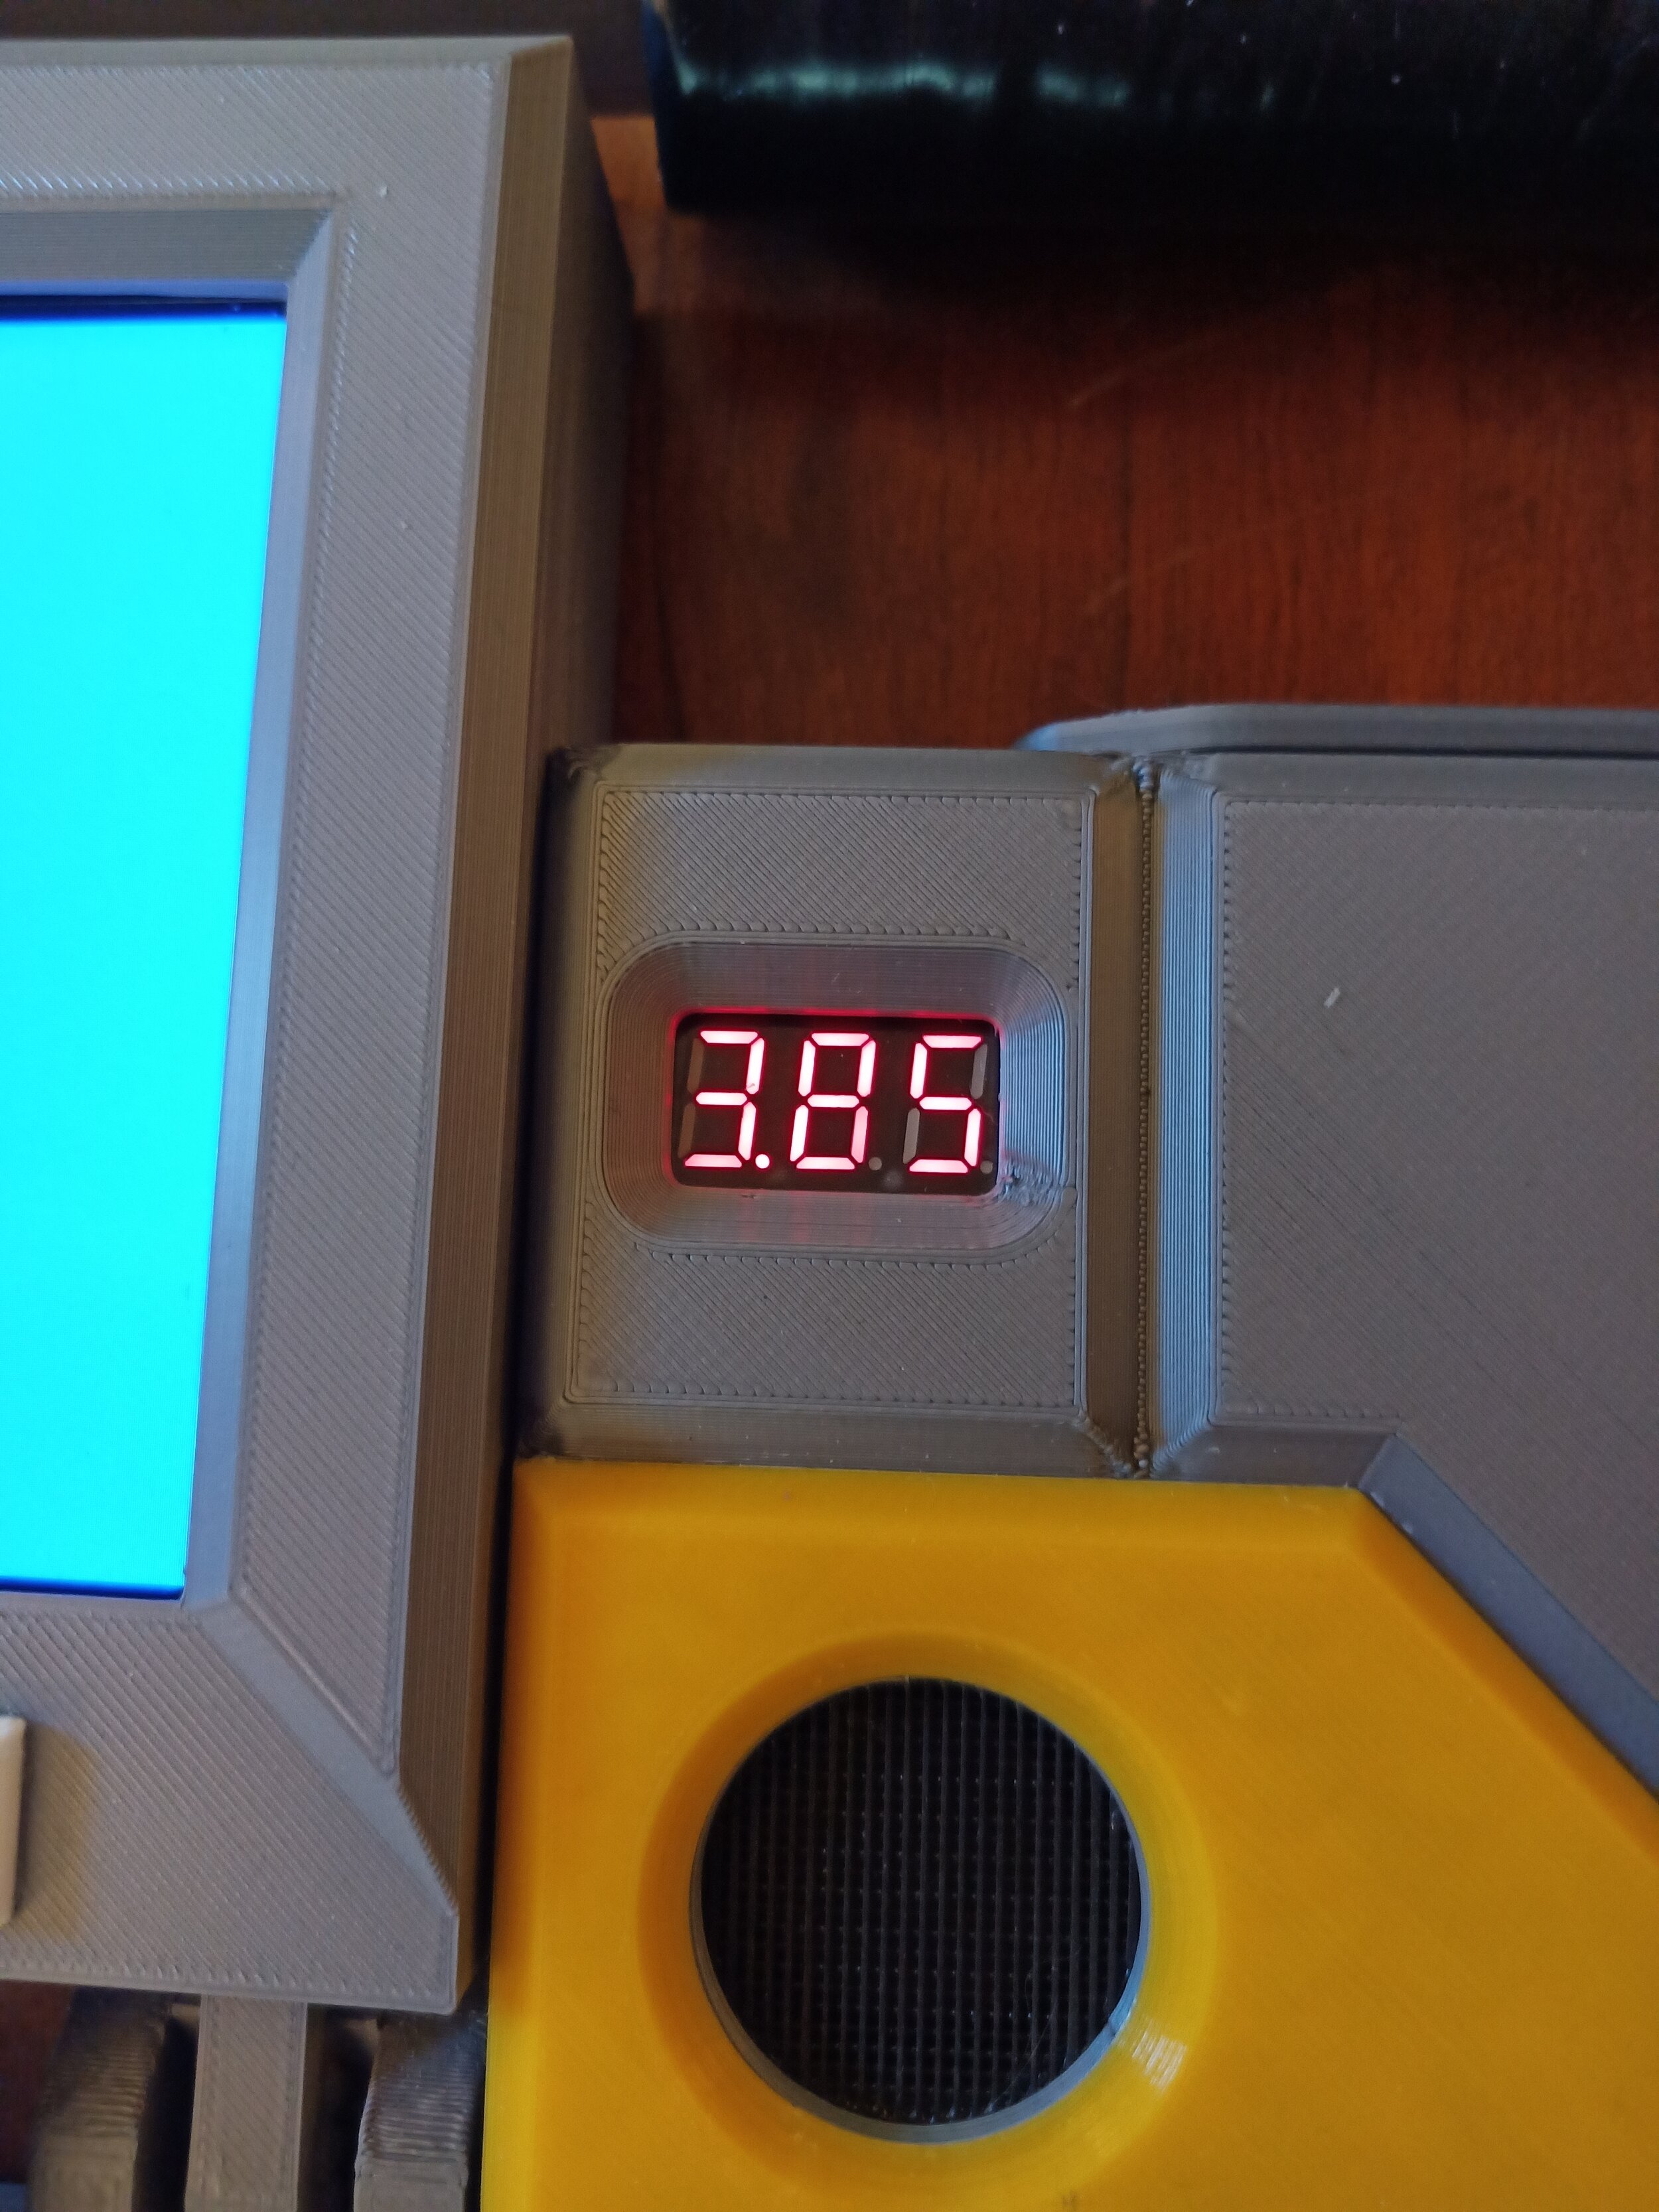
Power was a little bit of a challenge. I wanted to wire all the batteries in parallel, to make charging simple, but I just couldn't find a good boost converter that output enough amps to give a comfortable amount of overhead with some peripherals plugged in. A friend sent me a link to a cheap USB 2S battery charger for drones, and that solved the problem. High amp buck converters were everywhere, even in the back of my toolbox! Another part stolen from drones let me keep an eye on the batteries, with a voltage alarm and display.
Note: If you want a quiet fan, try running a 12v fan at 5v. Easy!
Once I had some parts together, then the design process was mainly spreading them out on a table for puzzle time, over and over.

Then giving them all cozy homes in Fusion 360

Adding some flair

Then it just had to be printed out, and put together!

The design evolved a bunch though the process, once shapes took hard form. I originally wanted the shoulder strap to mount to the metal bar on top, but my girlfriend pointed out that it might be easier to use on the go if it was upside down! I also didn't know how to route the wires for the monitor through the hinge, so I exposed them on top, and now that's one of my favorite parts of the build!


In the end, I'm very happy with it, and use it almost daily for streaming Steam games. It took me a few tries to figure out the right settings in linux for everything, especially the cheap screen, but now it's great! Such an honor to own an award winning deck too! I couldn't believe it when I saw my big dumb face on the screen at Virtcon! Big thank you to the Cyberdeck Cafe and r/cyberdeck community!
Now let's get started on the next one!