NX-Yamato

Makers of all skill levels know that one needs to push oneself to grow. I started this build with fairly basic knowledge of electronics, a semi adept understanding of 3D printing, and little experience in 3D modeling in Fusion 360 beyond the rudimentary maker coin we've all seen on youtube. My background is in nursing and wound care technology, so electronics and things of that nature really are above my head. Over the last few months I've been able to see myself grow as not only a maker but a person as well. At times I felt completely overwhelmed and was tempted to shelve this project, but I'm glad I stuck with it and finished it. This project began in early December 2019, and over the last 4 months I've experienced numerous setbacks, mistakes, and unexpected problems. I've gained patience, an understanding of how I work best, an understanding that I need to embrace the tiny imperfections, and some new friends in the maker community. Indeed, this project was my crucible as a maker, as it was the first thing designed and made completely by me. Previously, all of my builds were of things that other people made first, so this project really means a lot to me.
I started this project after seeing all of the mind blowing builds that were being featured on Hackaday, like Bootdsc's Virtuscope. I knew I had to make one for myself. As not only a product of the 80's but a stereotypical millennial (why does that word feel dirty?) waxing for the nostalgic times of my childhood, this project was all but inevitable.

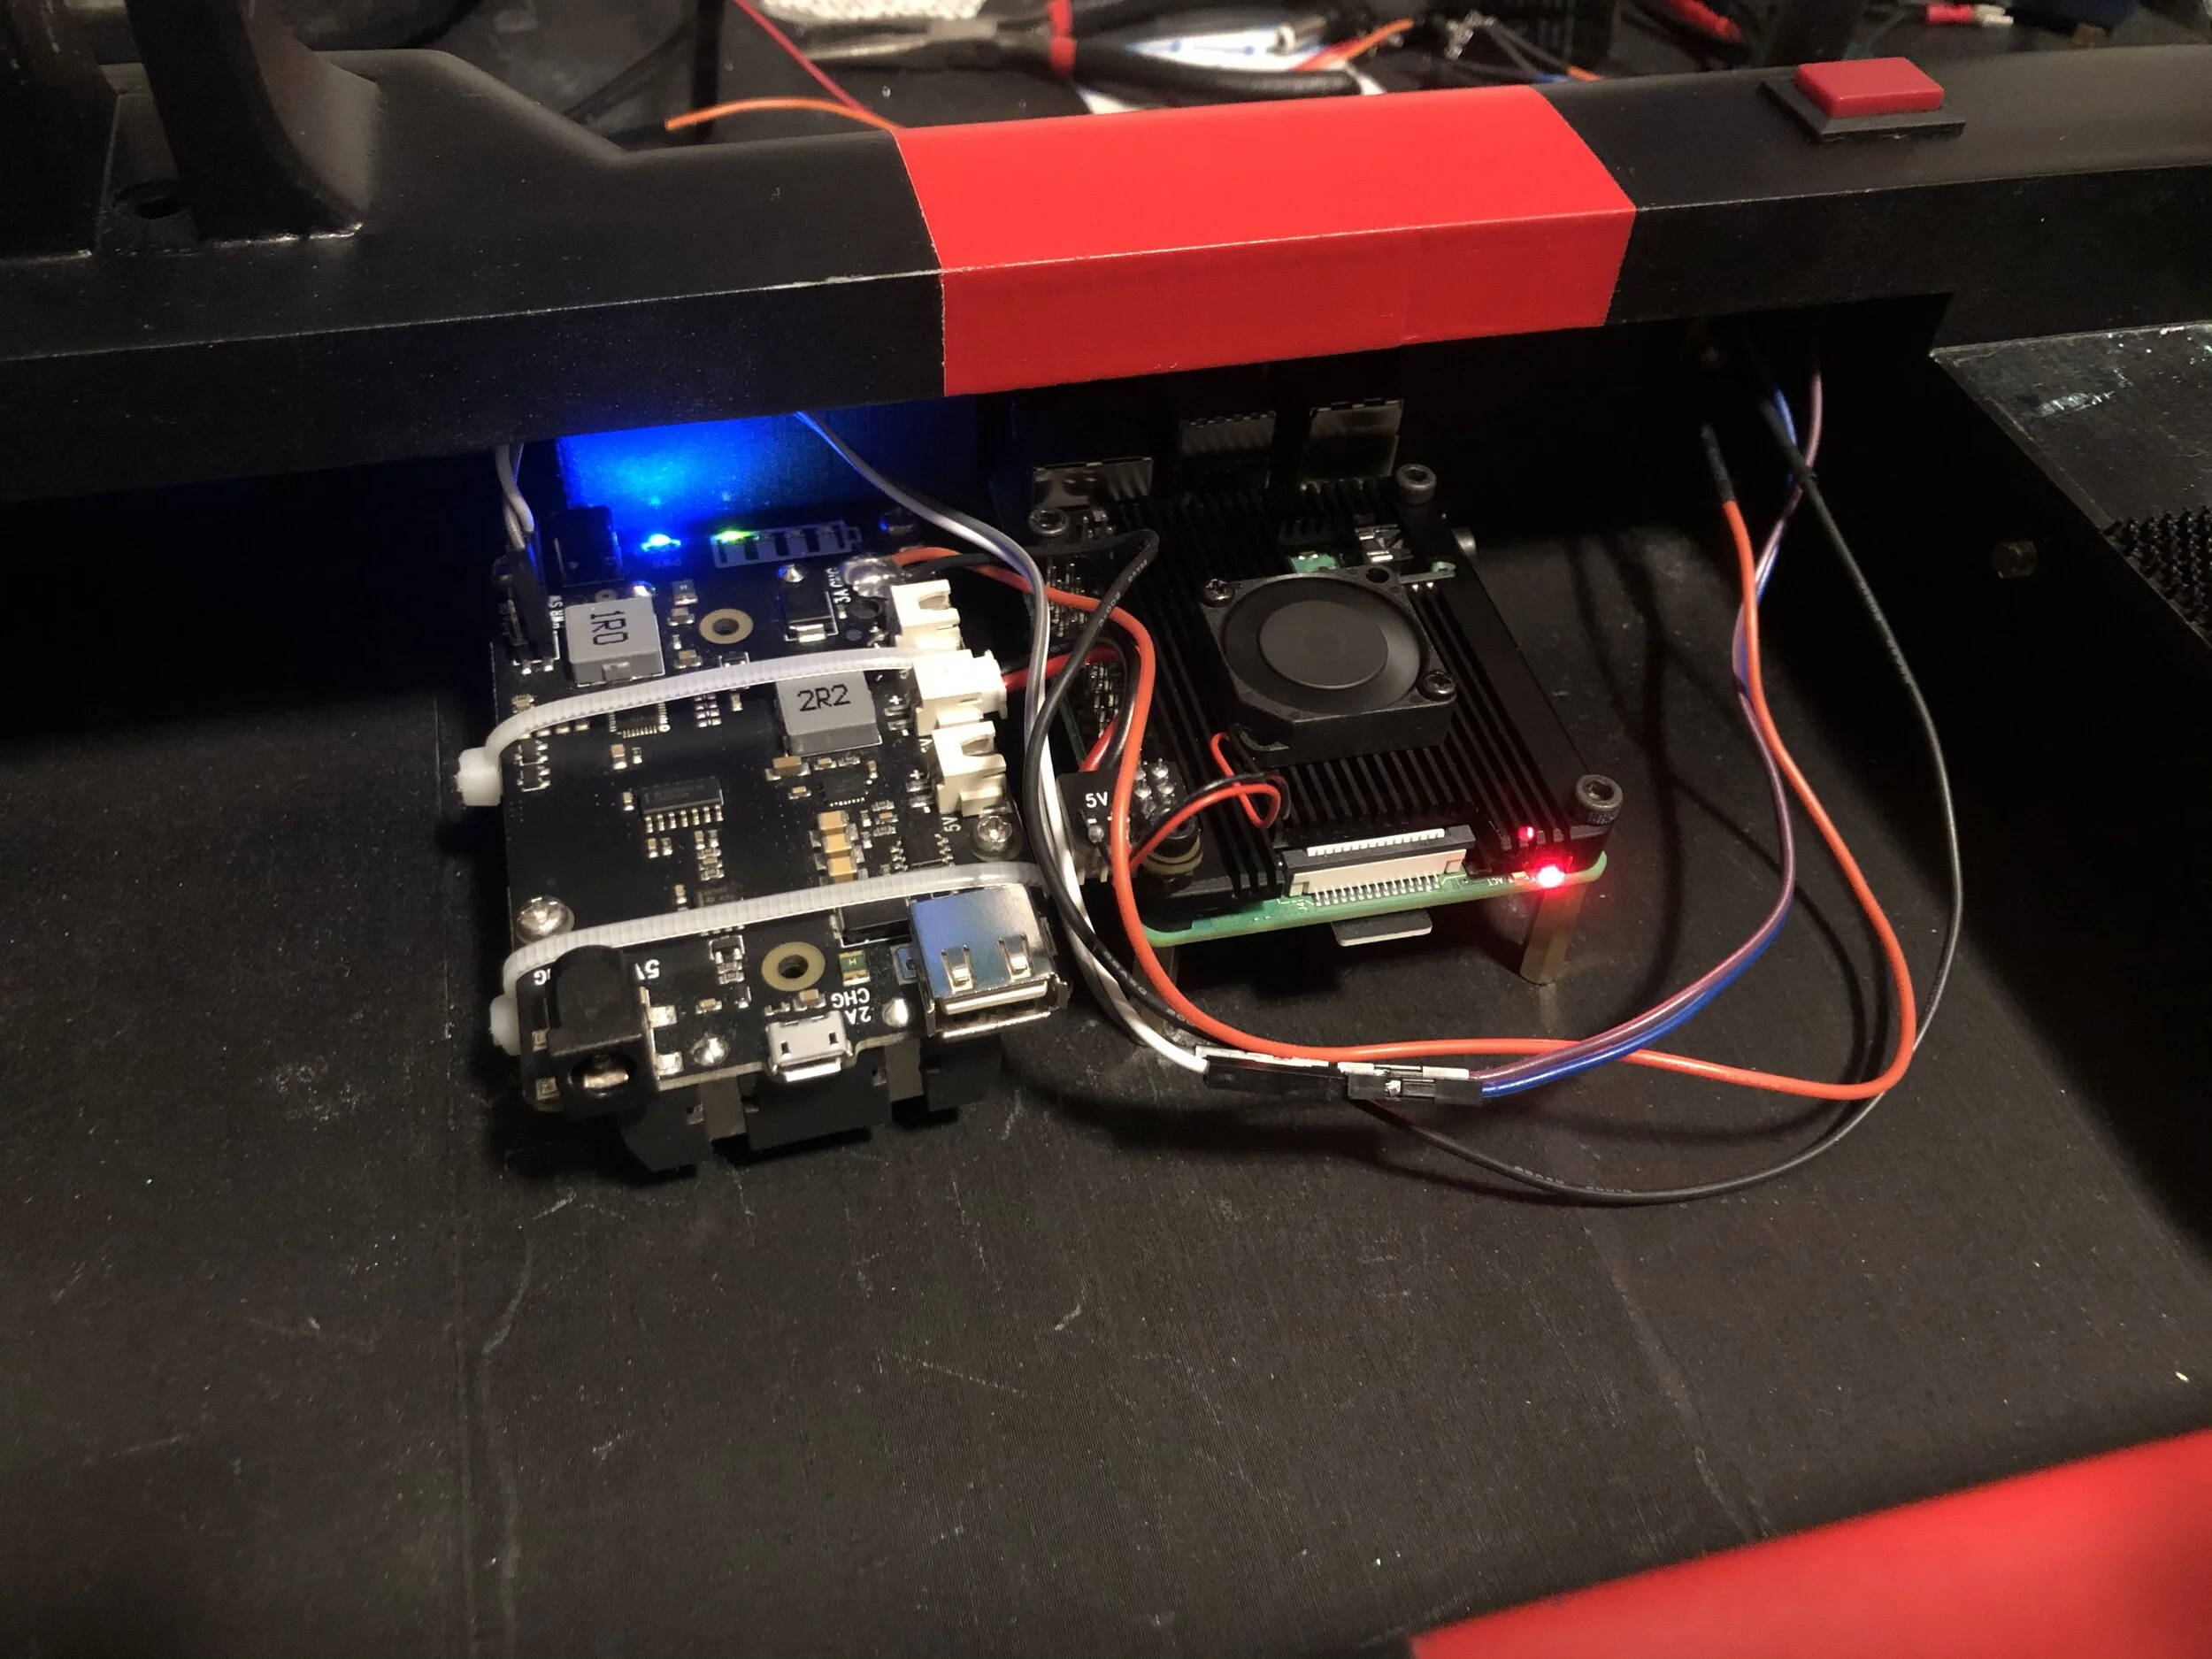
For the internals, I decided to go with a Raspberry Pi, as that was the only SBC that I have any previous experience with (mostly in GameBoy Zero, MintyPi, and other retropie based devices). A larger LCD screen was a must for me as well, since my eyesight isn't all that great (Yes I have glasses but I don't wear them because I hate things on my face. Also the reason I opted to not use a VR headset). for power I settled on a X705 power board.
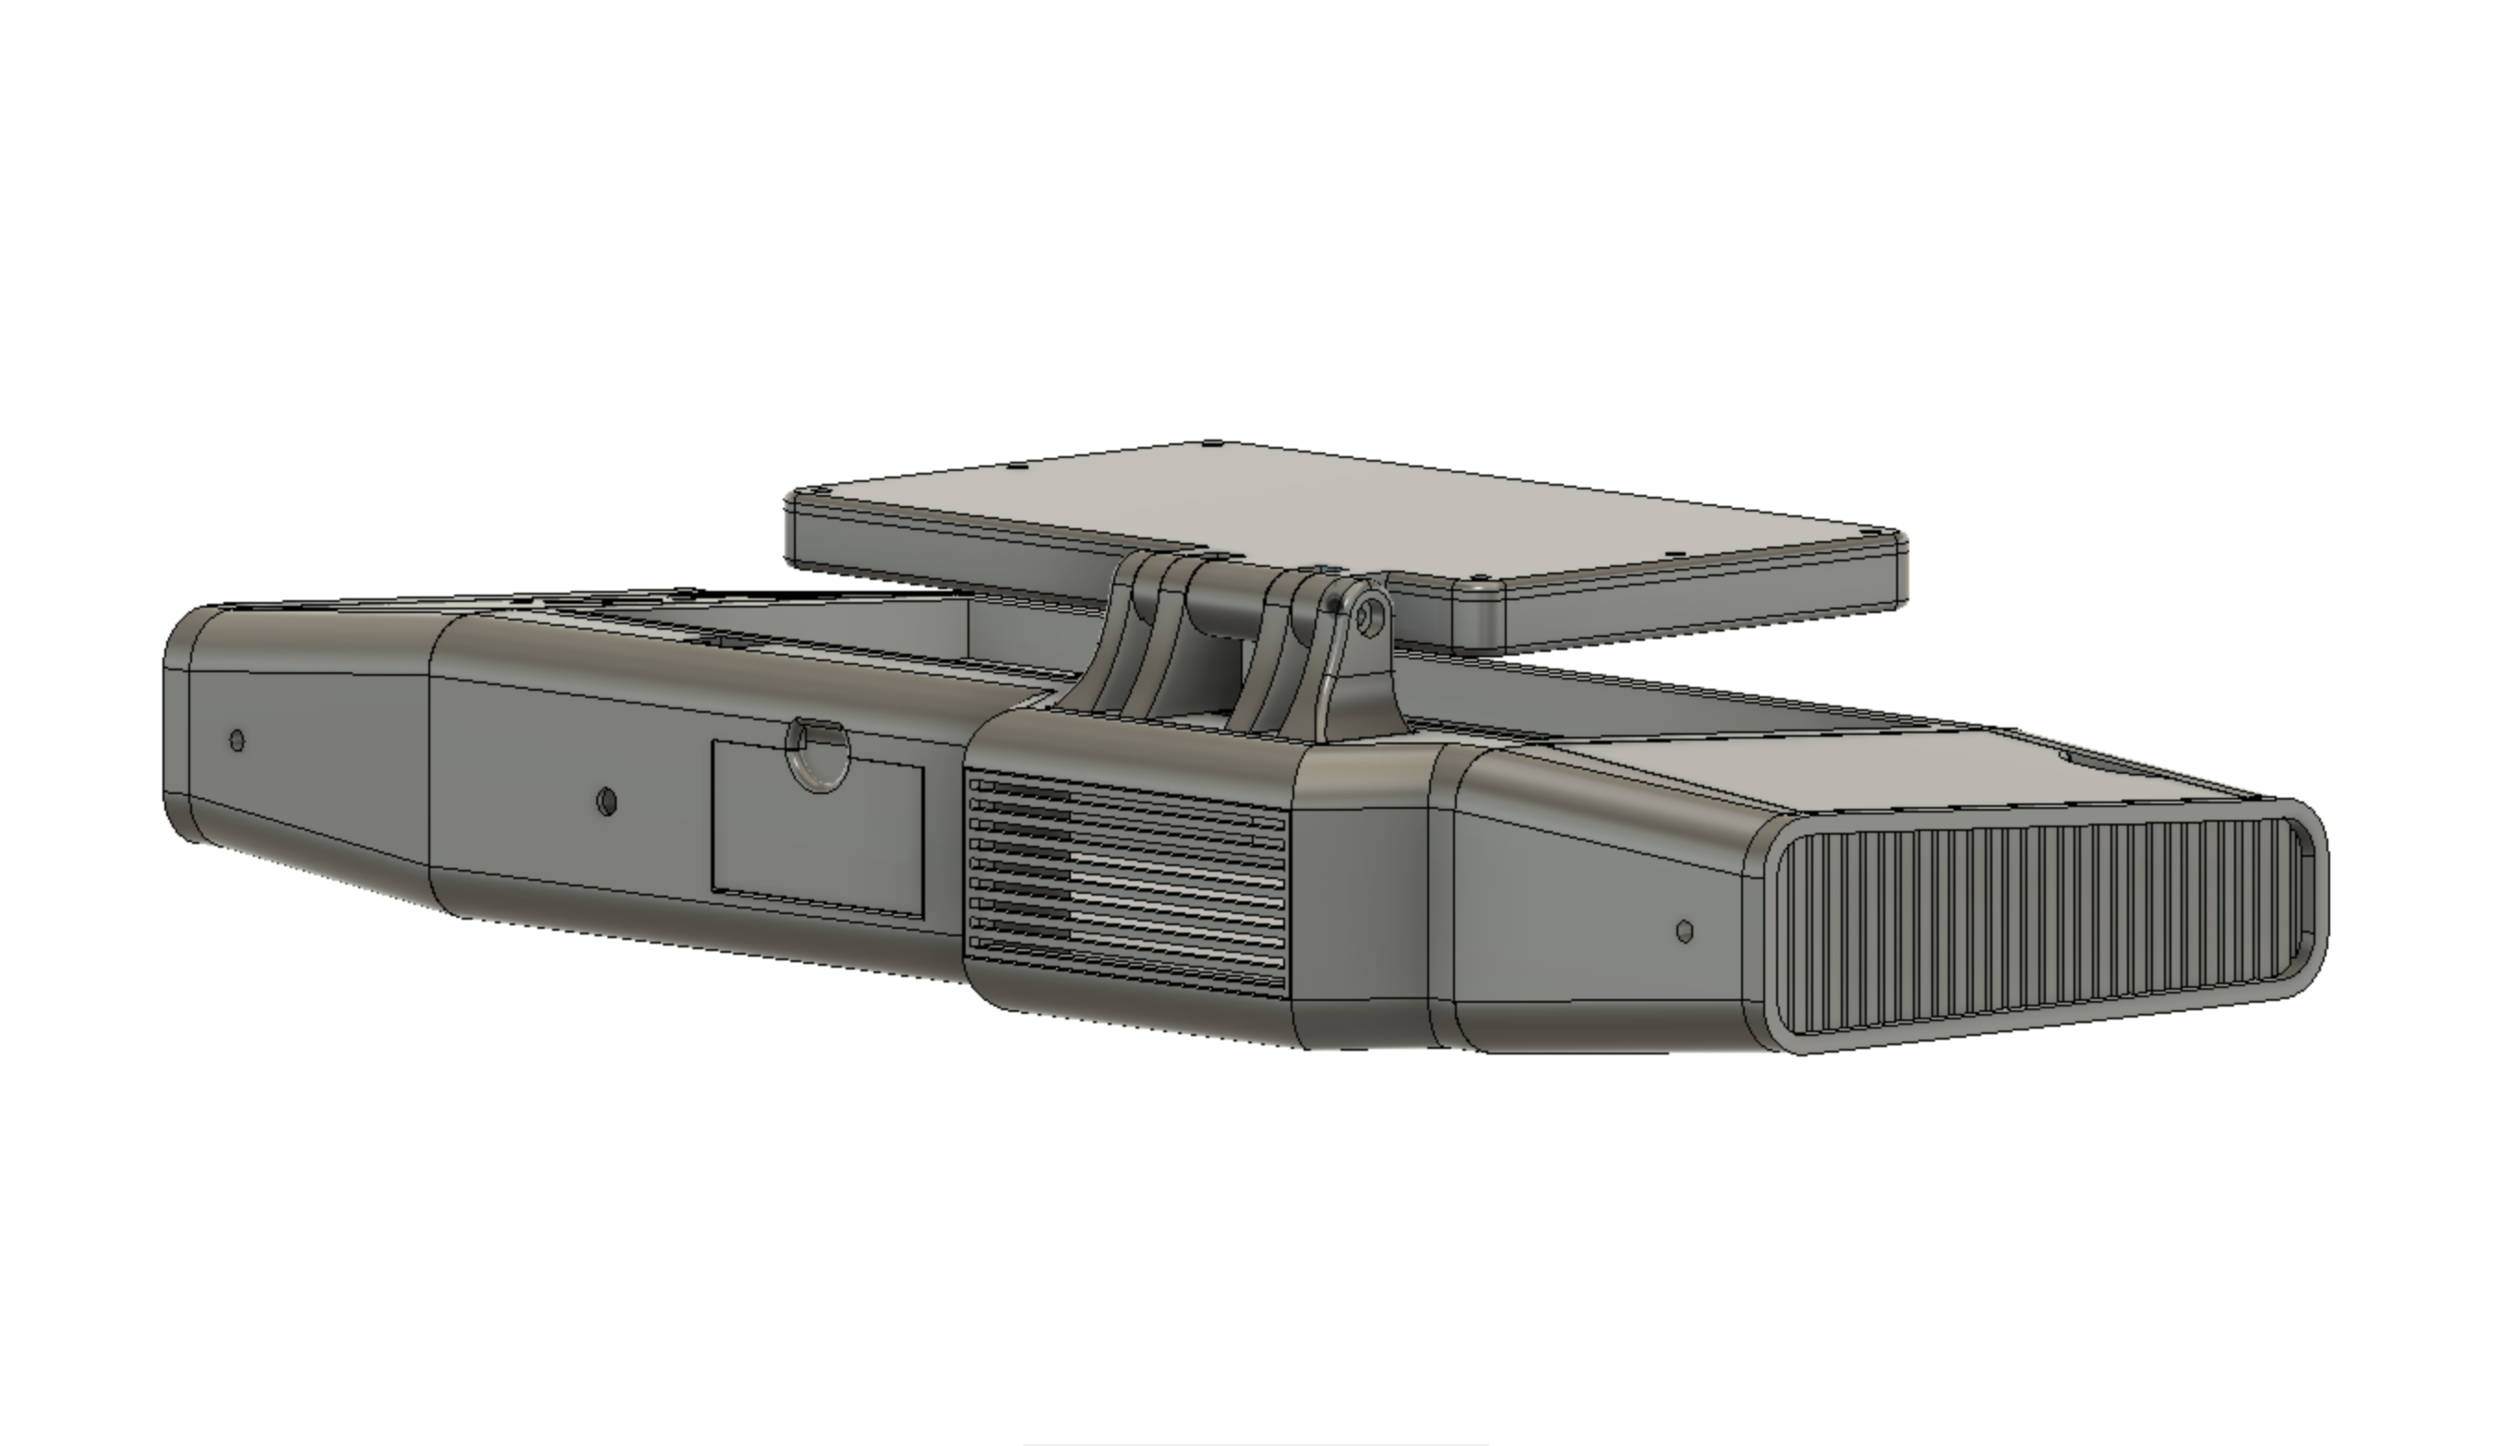
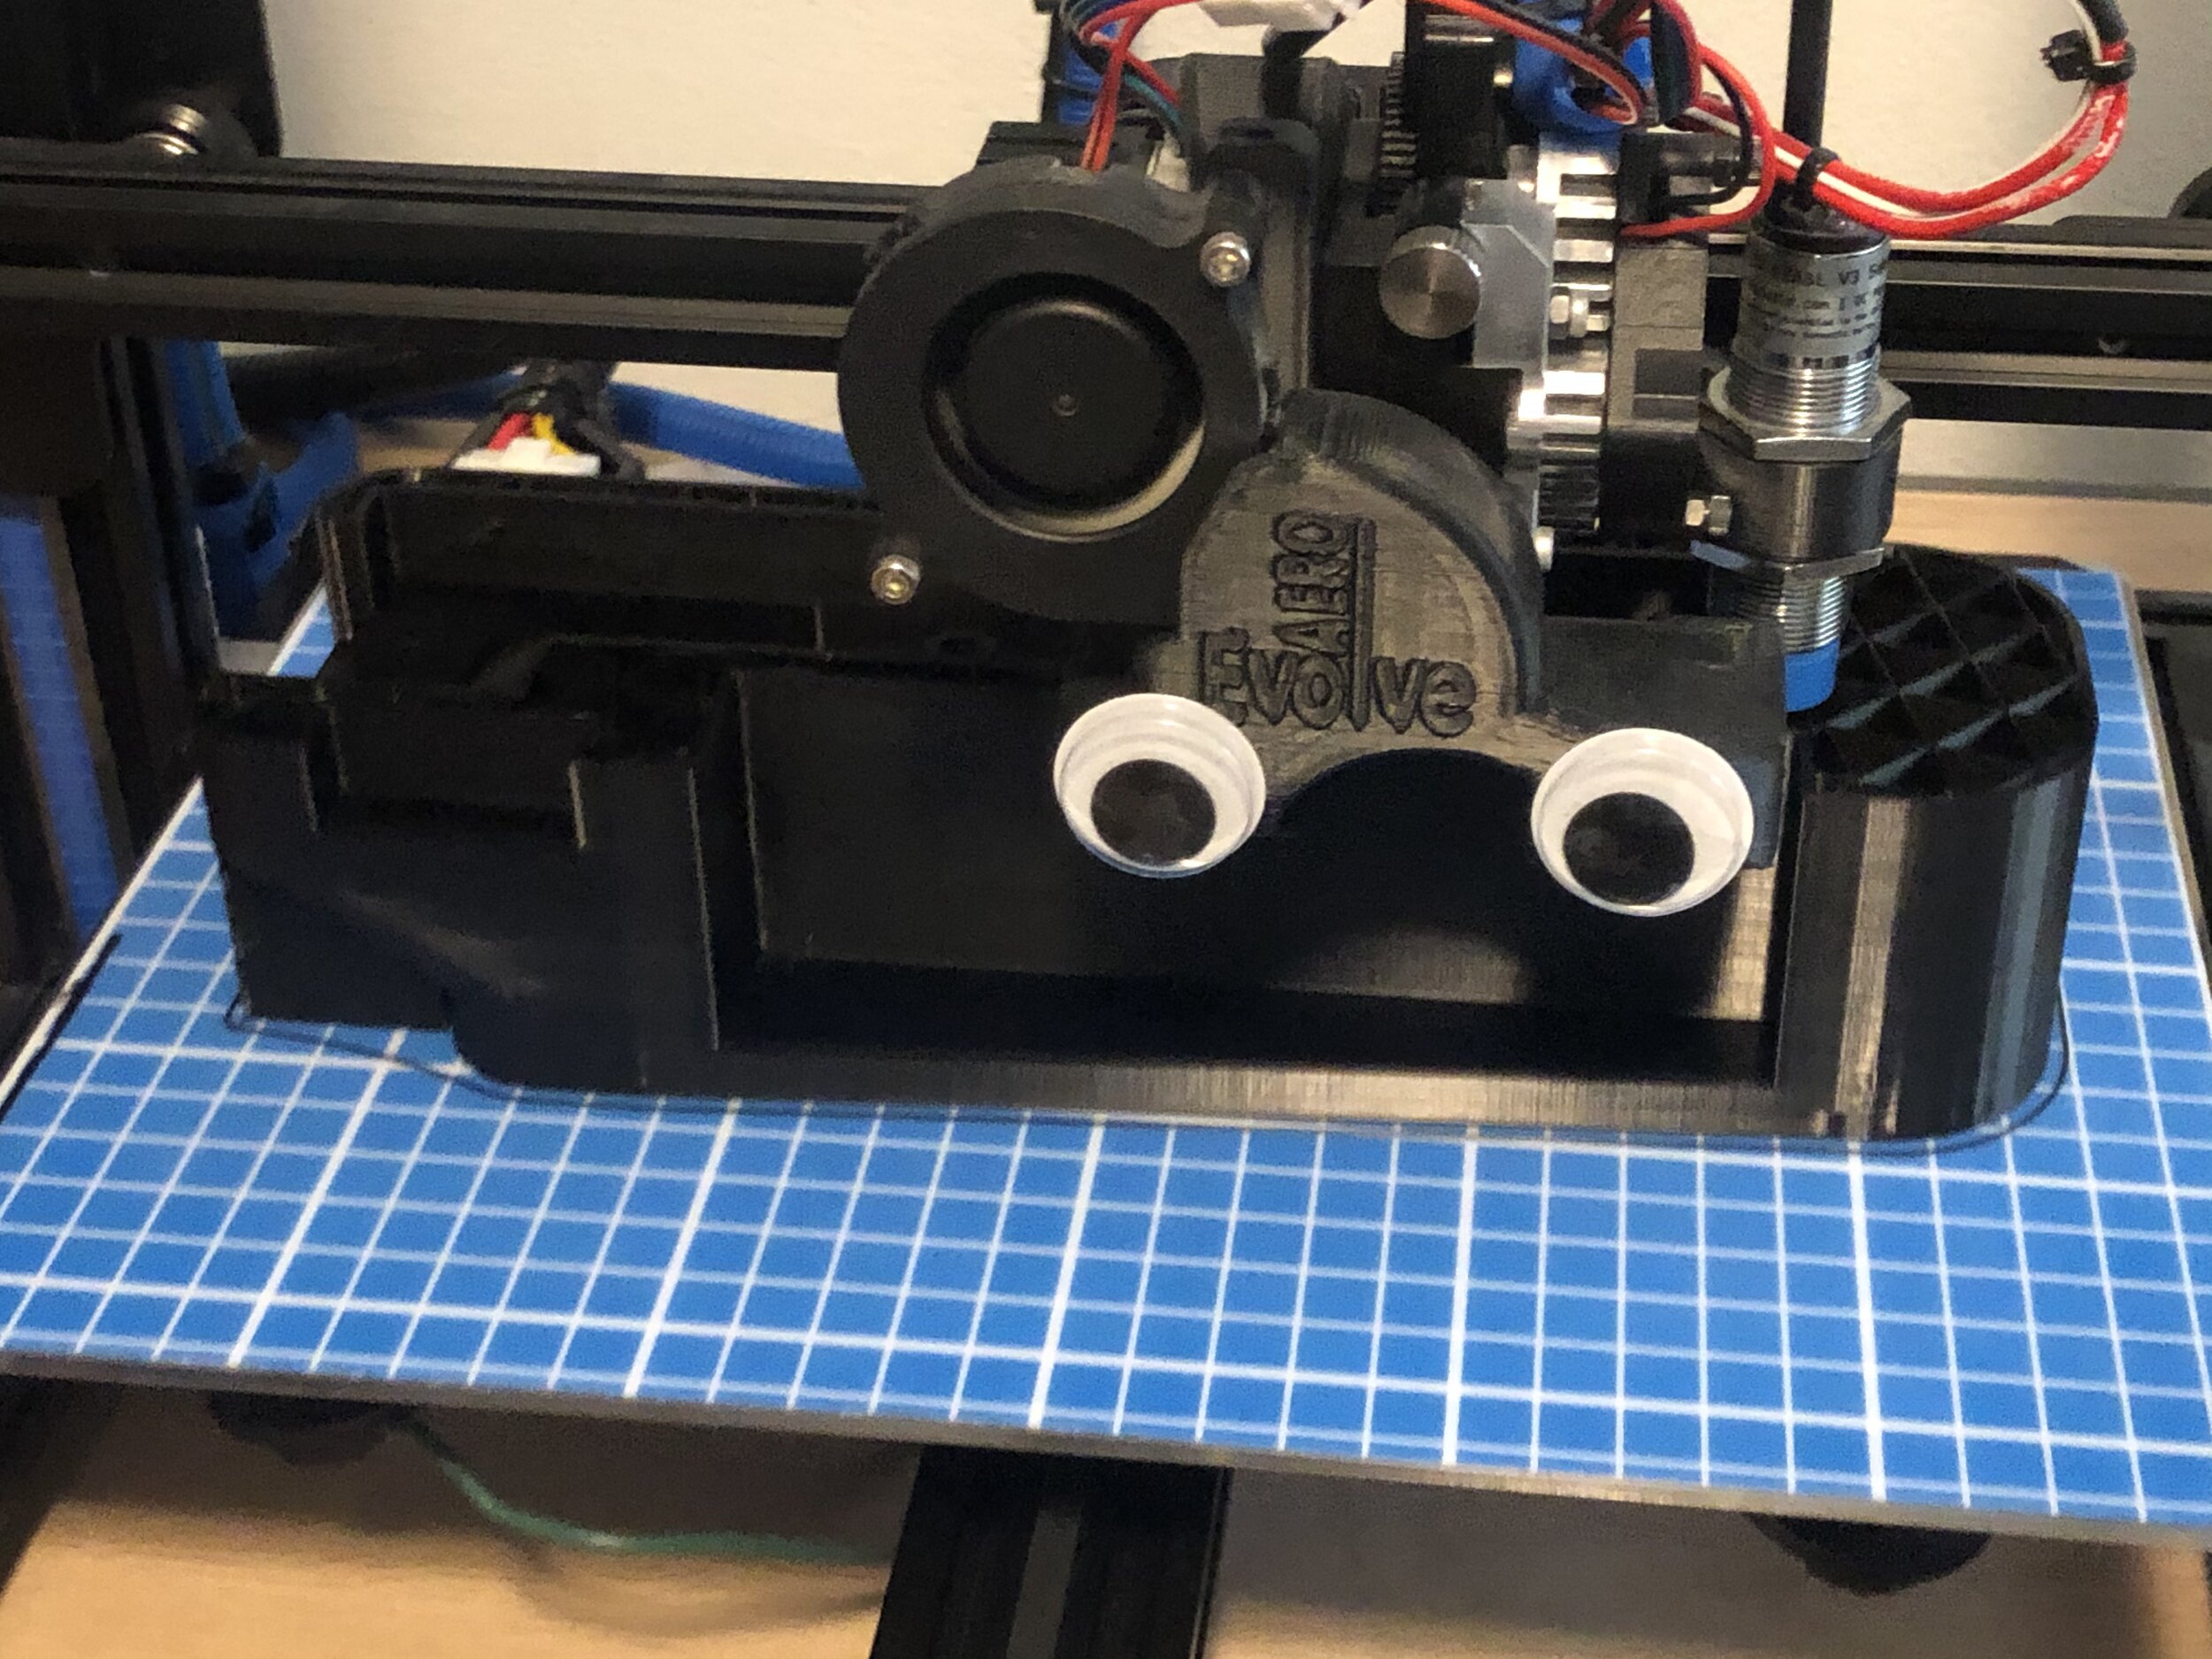
Designing the case really pushed my abilities to use Fusion 360. I owe alot to several books, "Make: Fusion 360 for Makers" by Lydia Sloan Cline and "A Beginner's Guide to 3D Modeling" by Cameron Coward as well as several youtube videos. This was by far the largest most complex thing I've ever made. Over the course of a month or so, I managed to design and print all the parts. I chose to print everything in PLA and put it all together using some 3D Gloop and some screws. A total of almost 2 kilos of plastic went into this, not including the multiple prototypes.

I had contemplated leaving the plastic bare, but instead decided to put my prop making and finishing skills to the test. Hours and hours of sanding, filling, sanding (2: Electric Boogaloo), priming, sanding, and painting, I was left with a pretty nice looking case and incredibly sore hands and arms. Mind you, this was all done in a one car garage in the midst of a Wisconsin winter with often below 0 temperatures. As you can probably guess, this caused numerous problems. My advice is, wait for warmer weather for painting, you'll have a better time.


After the case was finished, I began to work on the electronics. This is where it went south really fast. Originally I had planned on soldering the USB connections from the keyboard and joystick mouse to the Pi directly since I had it designed where the ports could be accessed from outside the case. In the process of doing this, I managed to ruin my first Pi4 4GB. Feeling defeated and like an absolute potato, I decided to just work on the rest until I had a spare $60 for a new Pi. This feels like one of those scenes in some sitcoms where the camera comes to the subject in an unfortunate predicament with the voice over saying "you're probably wondering how I got into this mess". Somehow I managed to short out the X705 battery board and let he magic smoke out of it. First time for that too might I add, and boy does that smoke stink. I really wanted to just forget about this whole project, but thanks to the incredible support of the cyberdeck community, I continued on.
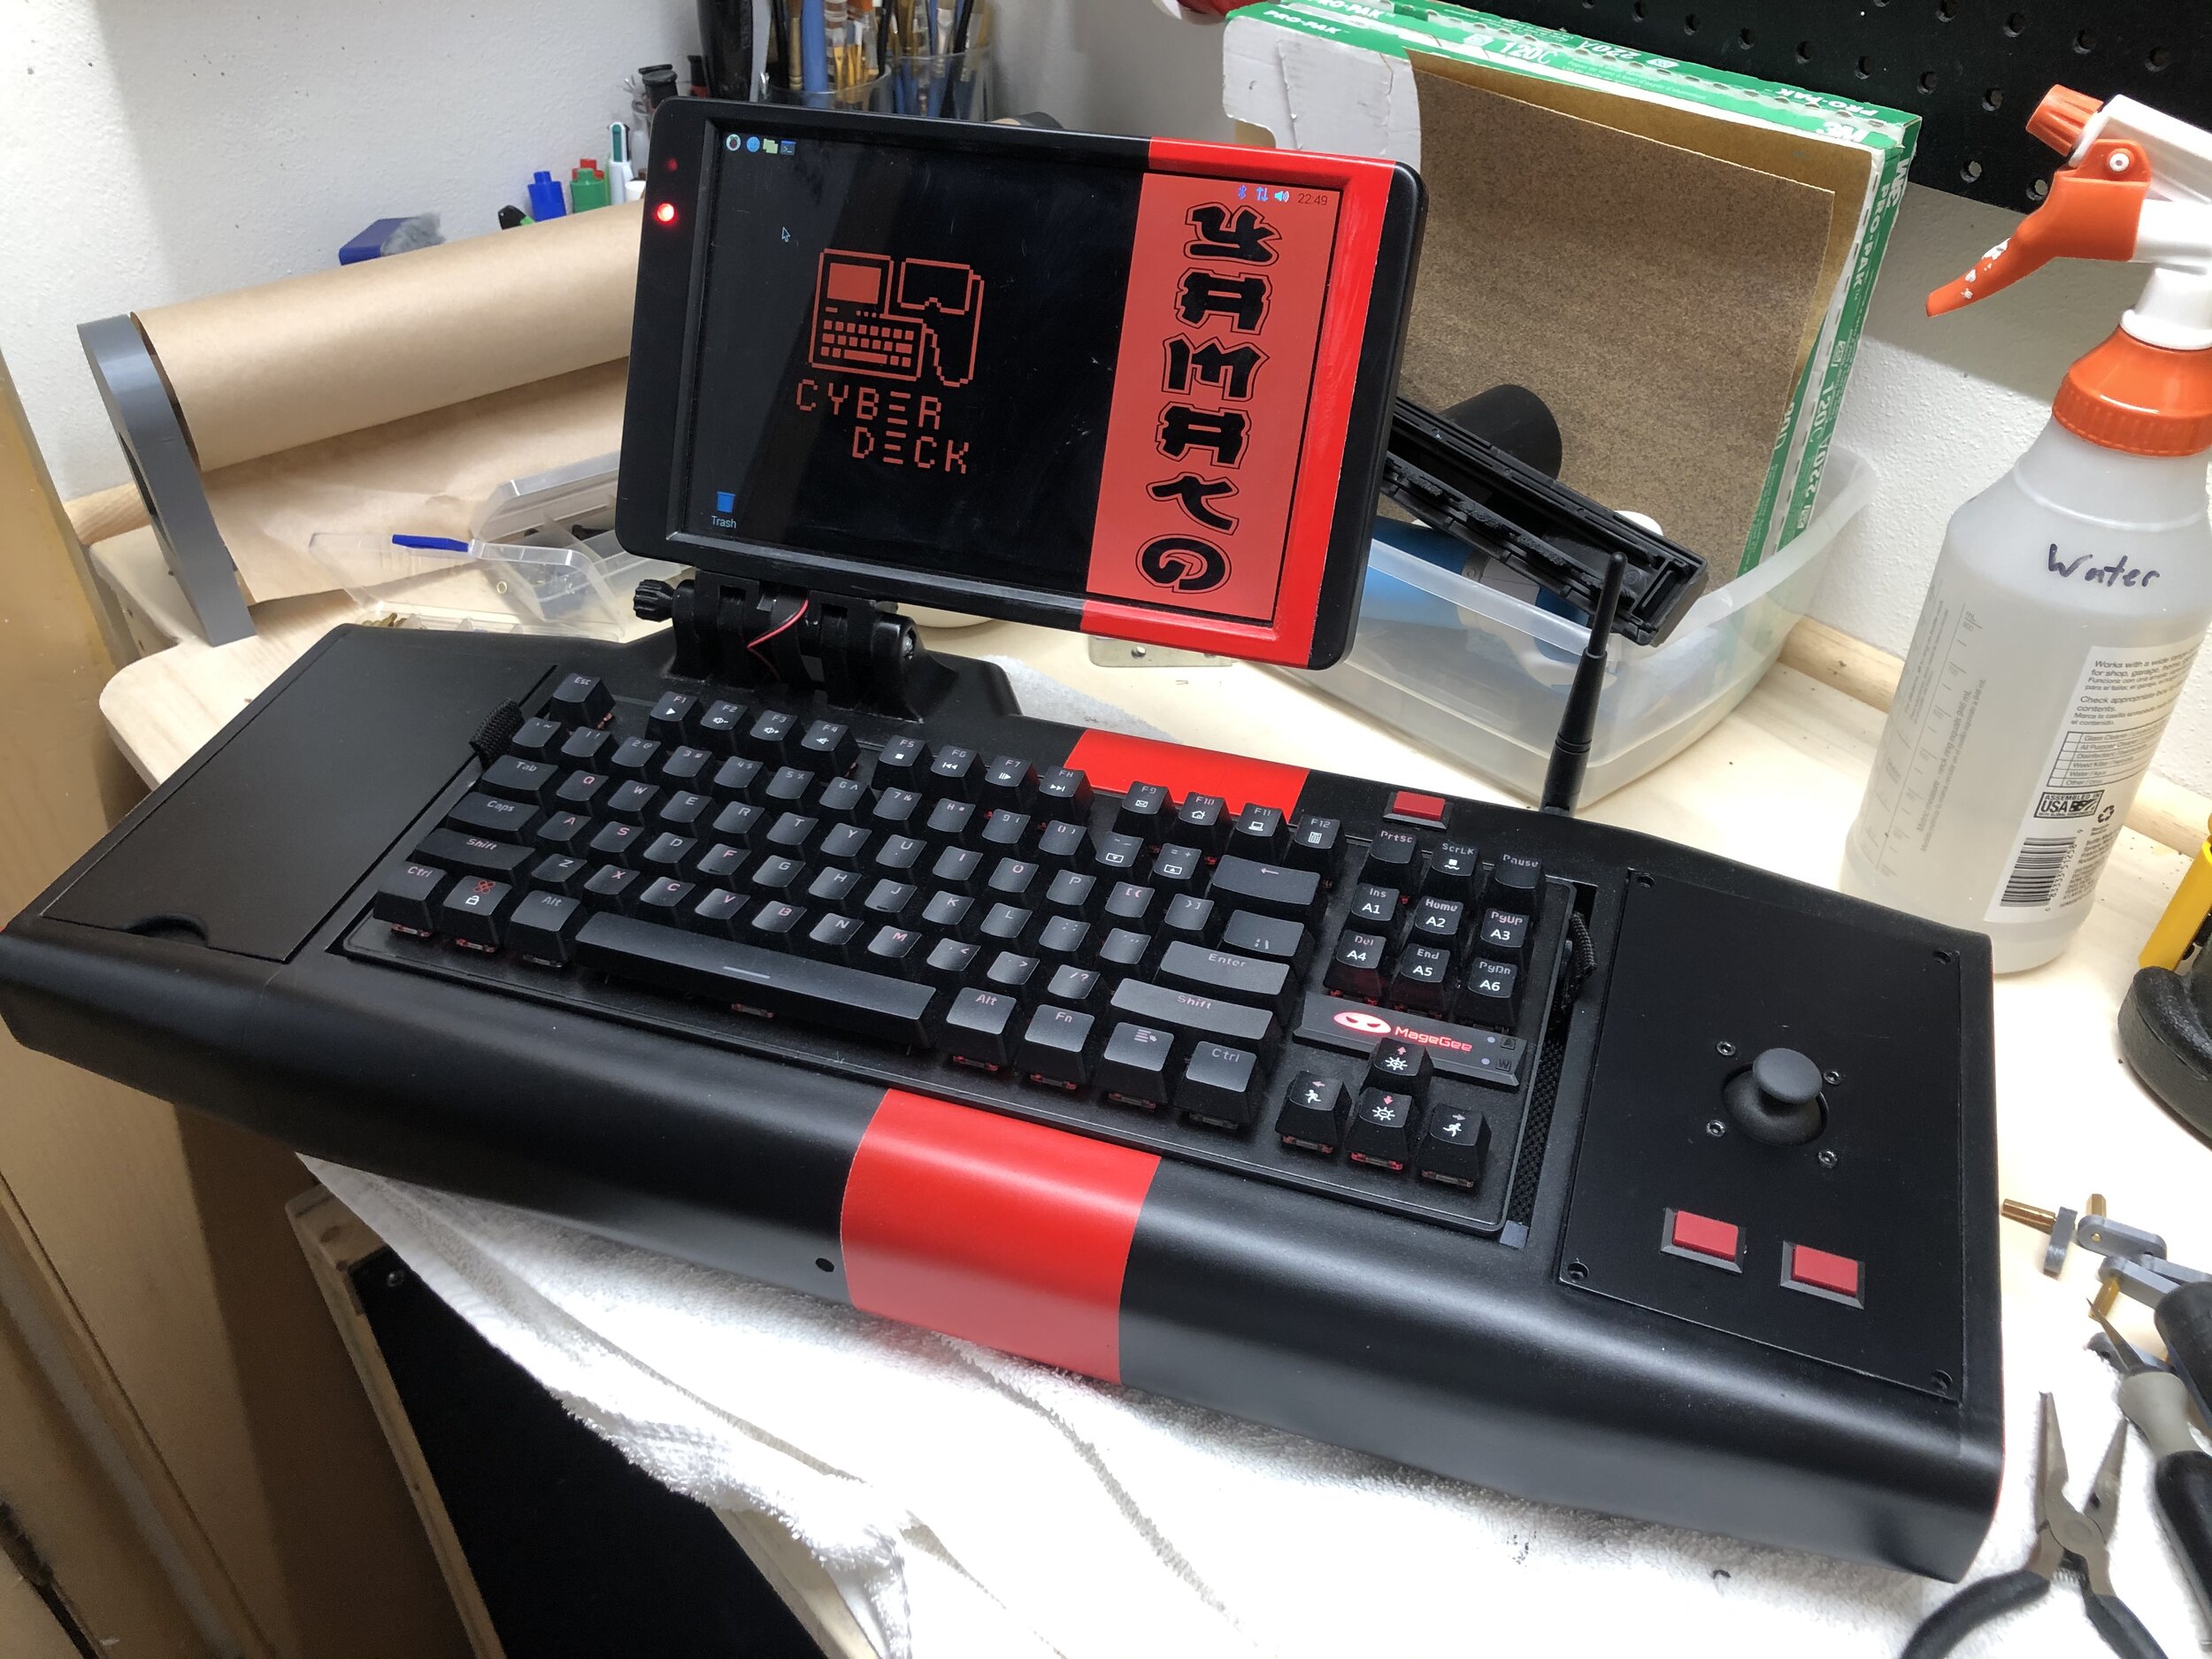
Eventually I got everything all situated, and working nicely. I couldn't believe it. It's actually done! Boy does this feel good. All that's left is giving it a name. I settled on NX-Yamato. This was inspired by Star Trek ship naming protocols, as NX is given to prototype vessels, and the Japanese Battleship Yamato, which was the largest vessel (I'm pretty sure this is the largest cyberdeck) in the Imperial Fleet during WWII. Admittedly there is a lot of room inside the case, and that's due to my being relatively green in the design area. It's essentially a big heavy box with a Pi in it, but I'm going to pull a Bethesda and make this flaw a feature by calling it snack storage. I'm already planning and prototyping parts for my next deck, and with everything that I learned, it's going to be even better and will give me the opportunity to learn so much more.
Below is a BOM if you would like to build your own version of he NX-Yamato Cyberdeck. All of the STL and Fusion 360 files will be posted to thingiverse as well. There's tons of room inside, you could fit a number of different SBCs or radios and what have you in there. If you are so inclined to design your own deck, or would like to know more about what components are known to be good, check out the Build-O-Matic page! Its constantly being updated and added too, so its a great resource to get the creative juices flowing!
Find the files on this Thingiverse post:
https://www.thingiverse.com/thing:4259705
Here's the pegboard spray can holders because I know someone will ask: https://www.thingiverse.com/thing:2551500
Follow me to keep up to date on all of my projects at:
www.Instagram.com/blastosupreme BOM for NX-Yamato Cyberdeck ___________________________
1x GeeekPi 10.1 Inch 1280x800 Display Kit for Raspberry Pi 4 https://amzn.to/3cLbyRJ 1x JSER CYFPV 90 Degree Up Angled FPV Micro HDMI Male to HDMI Male Flat Cable 50cm https://amzn.to/2xKQlIA 1x Analog 2-axis Thumb Joystick with Select Button + Breakout Board https://www.adafruit.com/product/512 1x Geekworm Raspberry Pi 4B/3B+/3B UPS HAT & Auto Power On Shield, X705 18650 Power Management Expansion Board https://www.amazon.com/gp/product/B07Z3P2ZX1 2x Panasonic NCR18650G 3550mAh 8A Battery https://www.imrbatteries.com/panasonic-ncr18650g-3550mah-8a-battery/ 1x Mechanical Gaming Keyboard https://amzn.to/2XQoBgd 1x FINDMAG 150 PCS Refrigerator Magnets Premium Brushed Nickel Fridge Magnets https://www.amazon.com/gp/product/B07XRFLTLG 1x VELCRO Brand Industrial Strength Fasteners https://www.amazon.com/gp/product/B00JJPPNHM 1x Pro Micro ATmega32U4 5V/16MHz Module Board with 2 Row pin Header https://www.amazon.com/gp/product/B012FOV17O 1x Geekworm Raspberry Pi 4 Embedded Heatsink with Fan https://amzn.to/3eCLvxw 1x Raspberry Pi 4 Model B - 4G RAM https://www.adafruit.com/product/4296 1x Micro SD Card - 64GB https://amzn.to/2VMLMoW 2x SPST Mini Momentary Push Button Switch 15x21mm Panel Mount https://www.amazon.com/gp/product/B06XGTJK7S 2x D-Ring Tie Down https://www.amazon.com/gp/product/B07Y9CWMPW 1x 8 in. x 10 in. x 0.050 in. Non-Glare Acrylic Sheet https://www.homedepot.com/p/Plaskolite-8-in-x-10-in-x-0-050-in-Non-Glare-Acrylic-Sheet-1X09241A/301109740 1x M5 Threaded rod 1x Shoulder Strap M4 Screws and nuts M5 Screwsand nuts M3 Screws M3 Standoffs and nuts Printed Parts - 1 of each Various lenghts of wire Super Glue 3D Gloop Paint Primer Sandpaper
(CREDIT) BlastoSupreme