Skeletal Cyberdeck

This deck is my fourth attempt at making a cyberdeck, my first one to be mostly 3D printed, and by far the smallest one I've attempted. Previously I'd built them inside the shells of broken or reproduction 80s computers (C64c, Amstrad NC100, Cambridge Z88), but I'd always been disatistfied with the result -- I never managed to work out how to secure the components to the shell and the insides were practically sloshing around. I also got tired of having to screw open and then screw close the halves of the shell anytime I needed to adjust something (which was constantly).
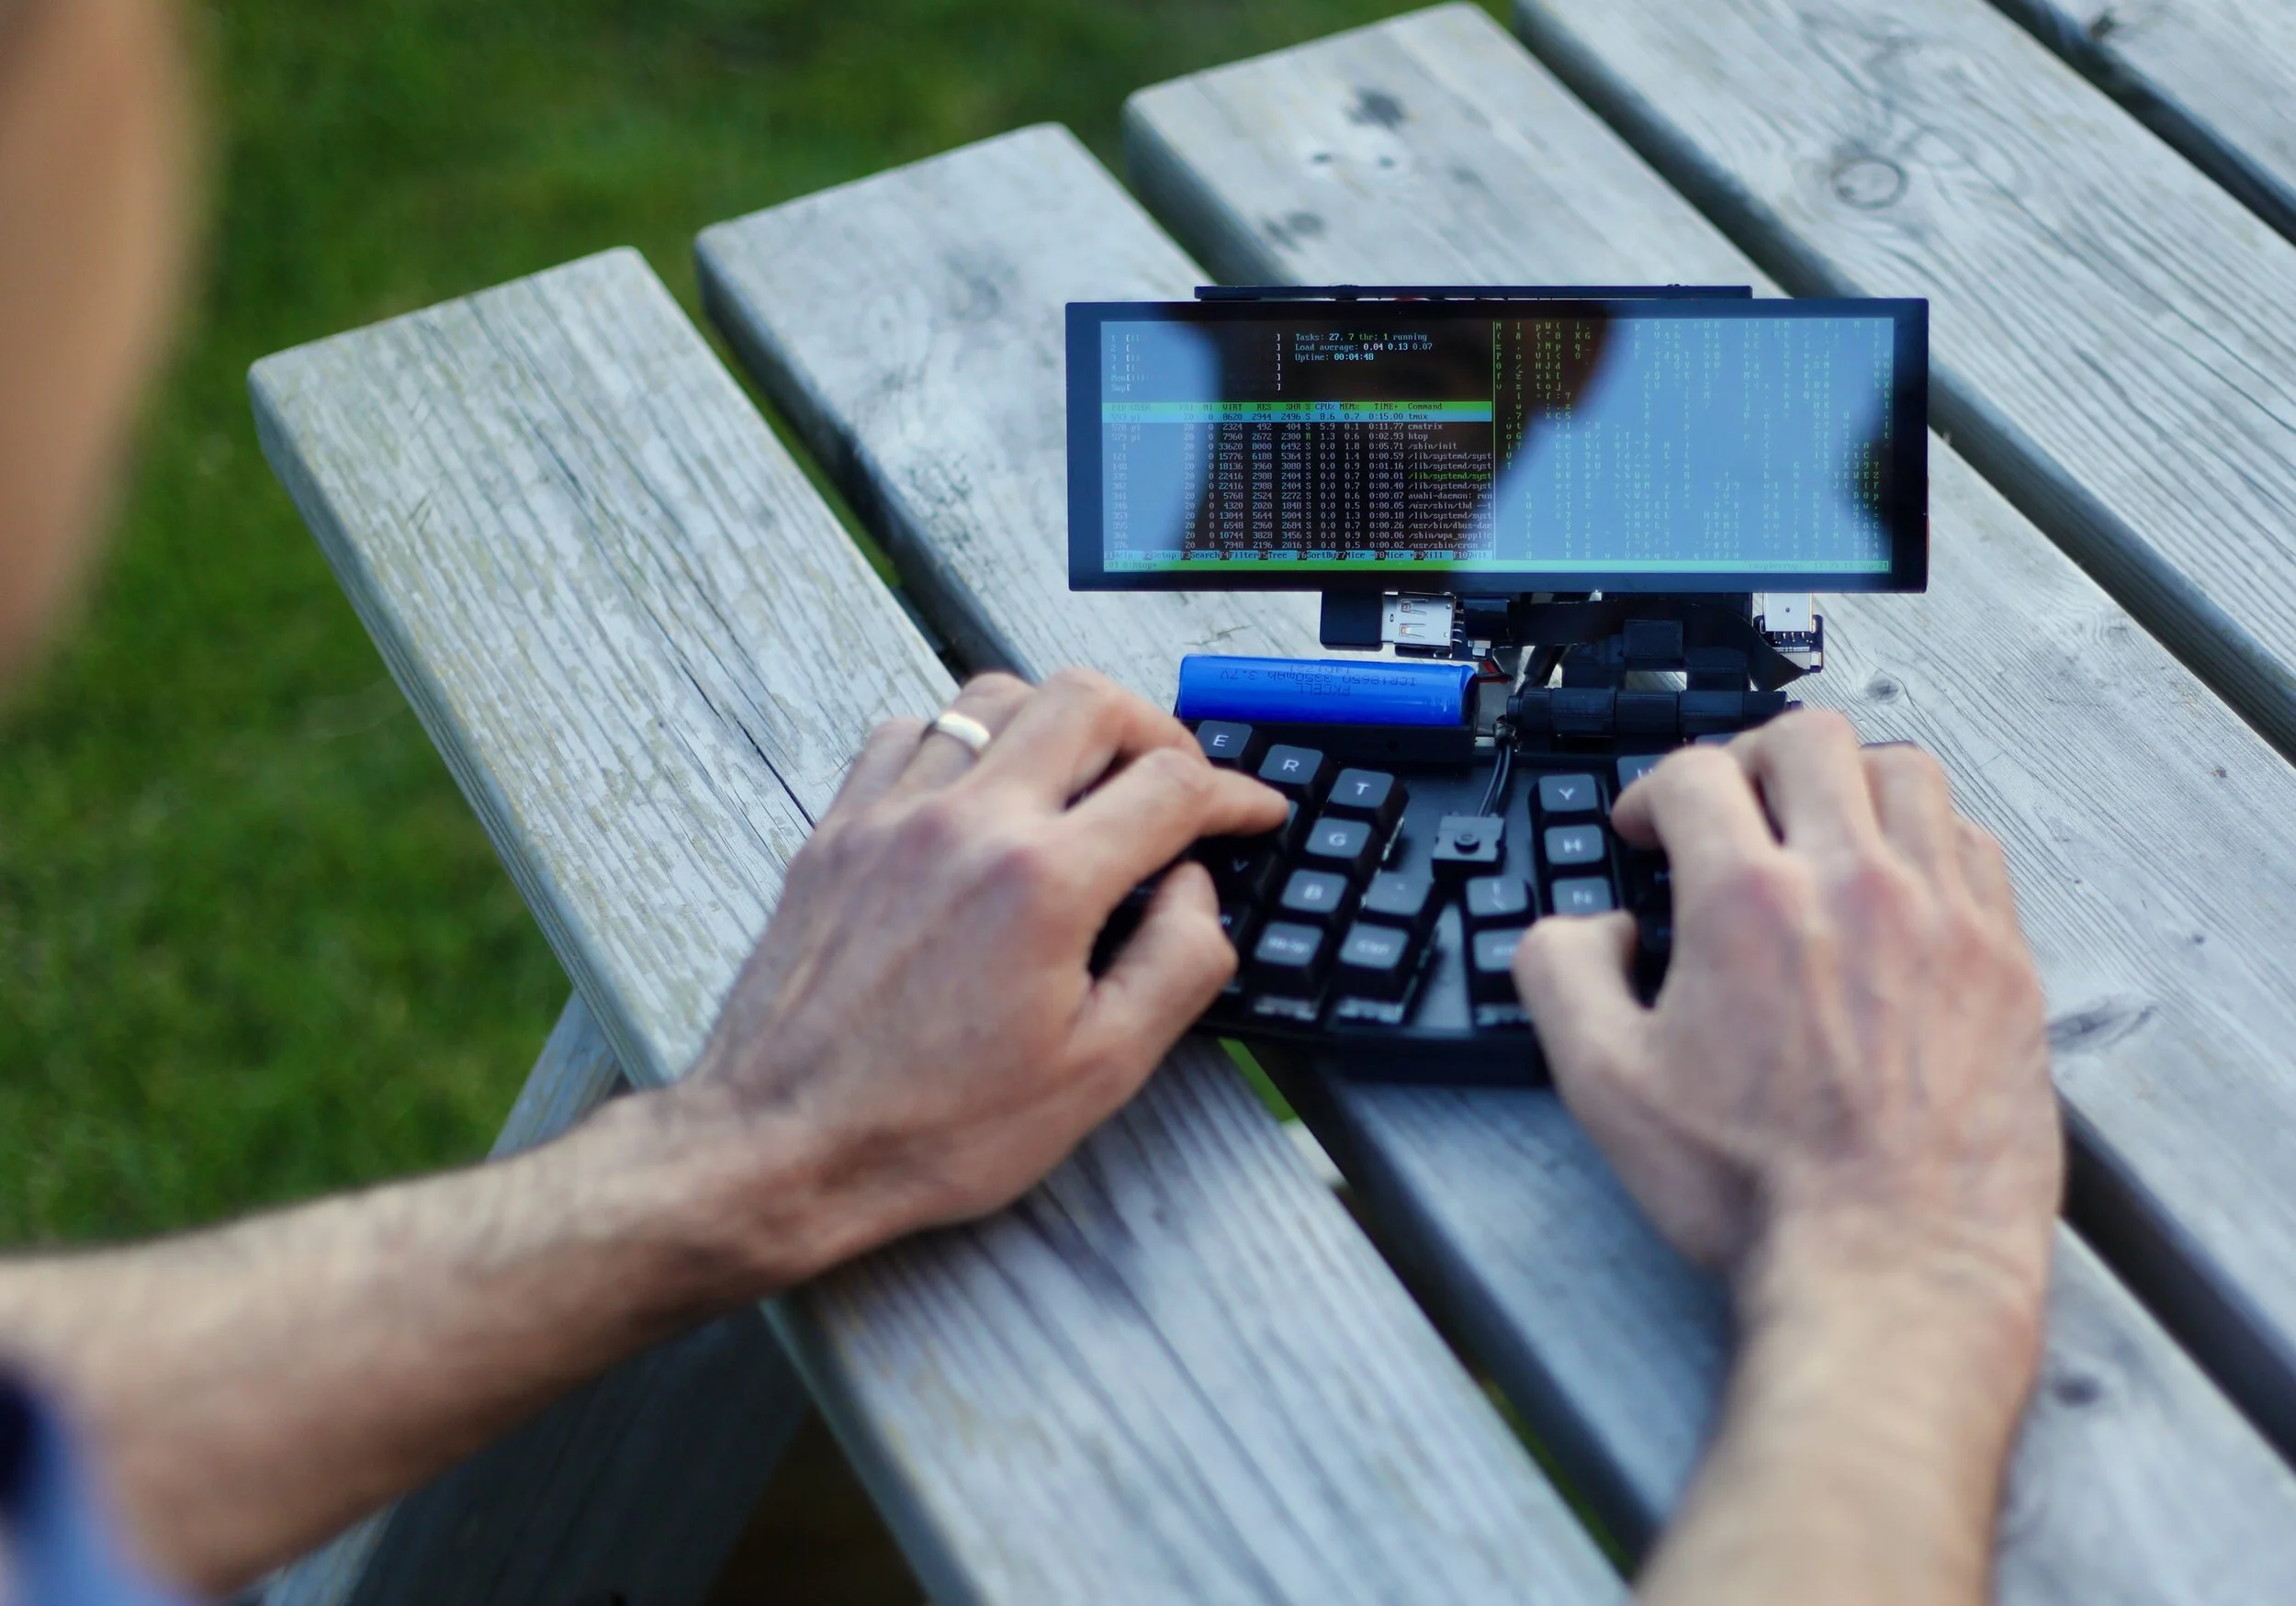
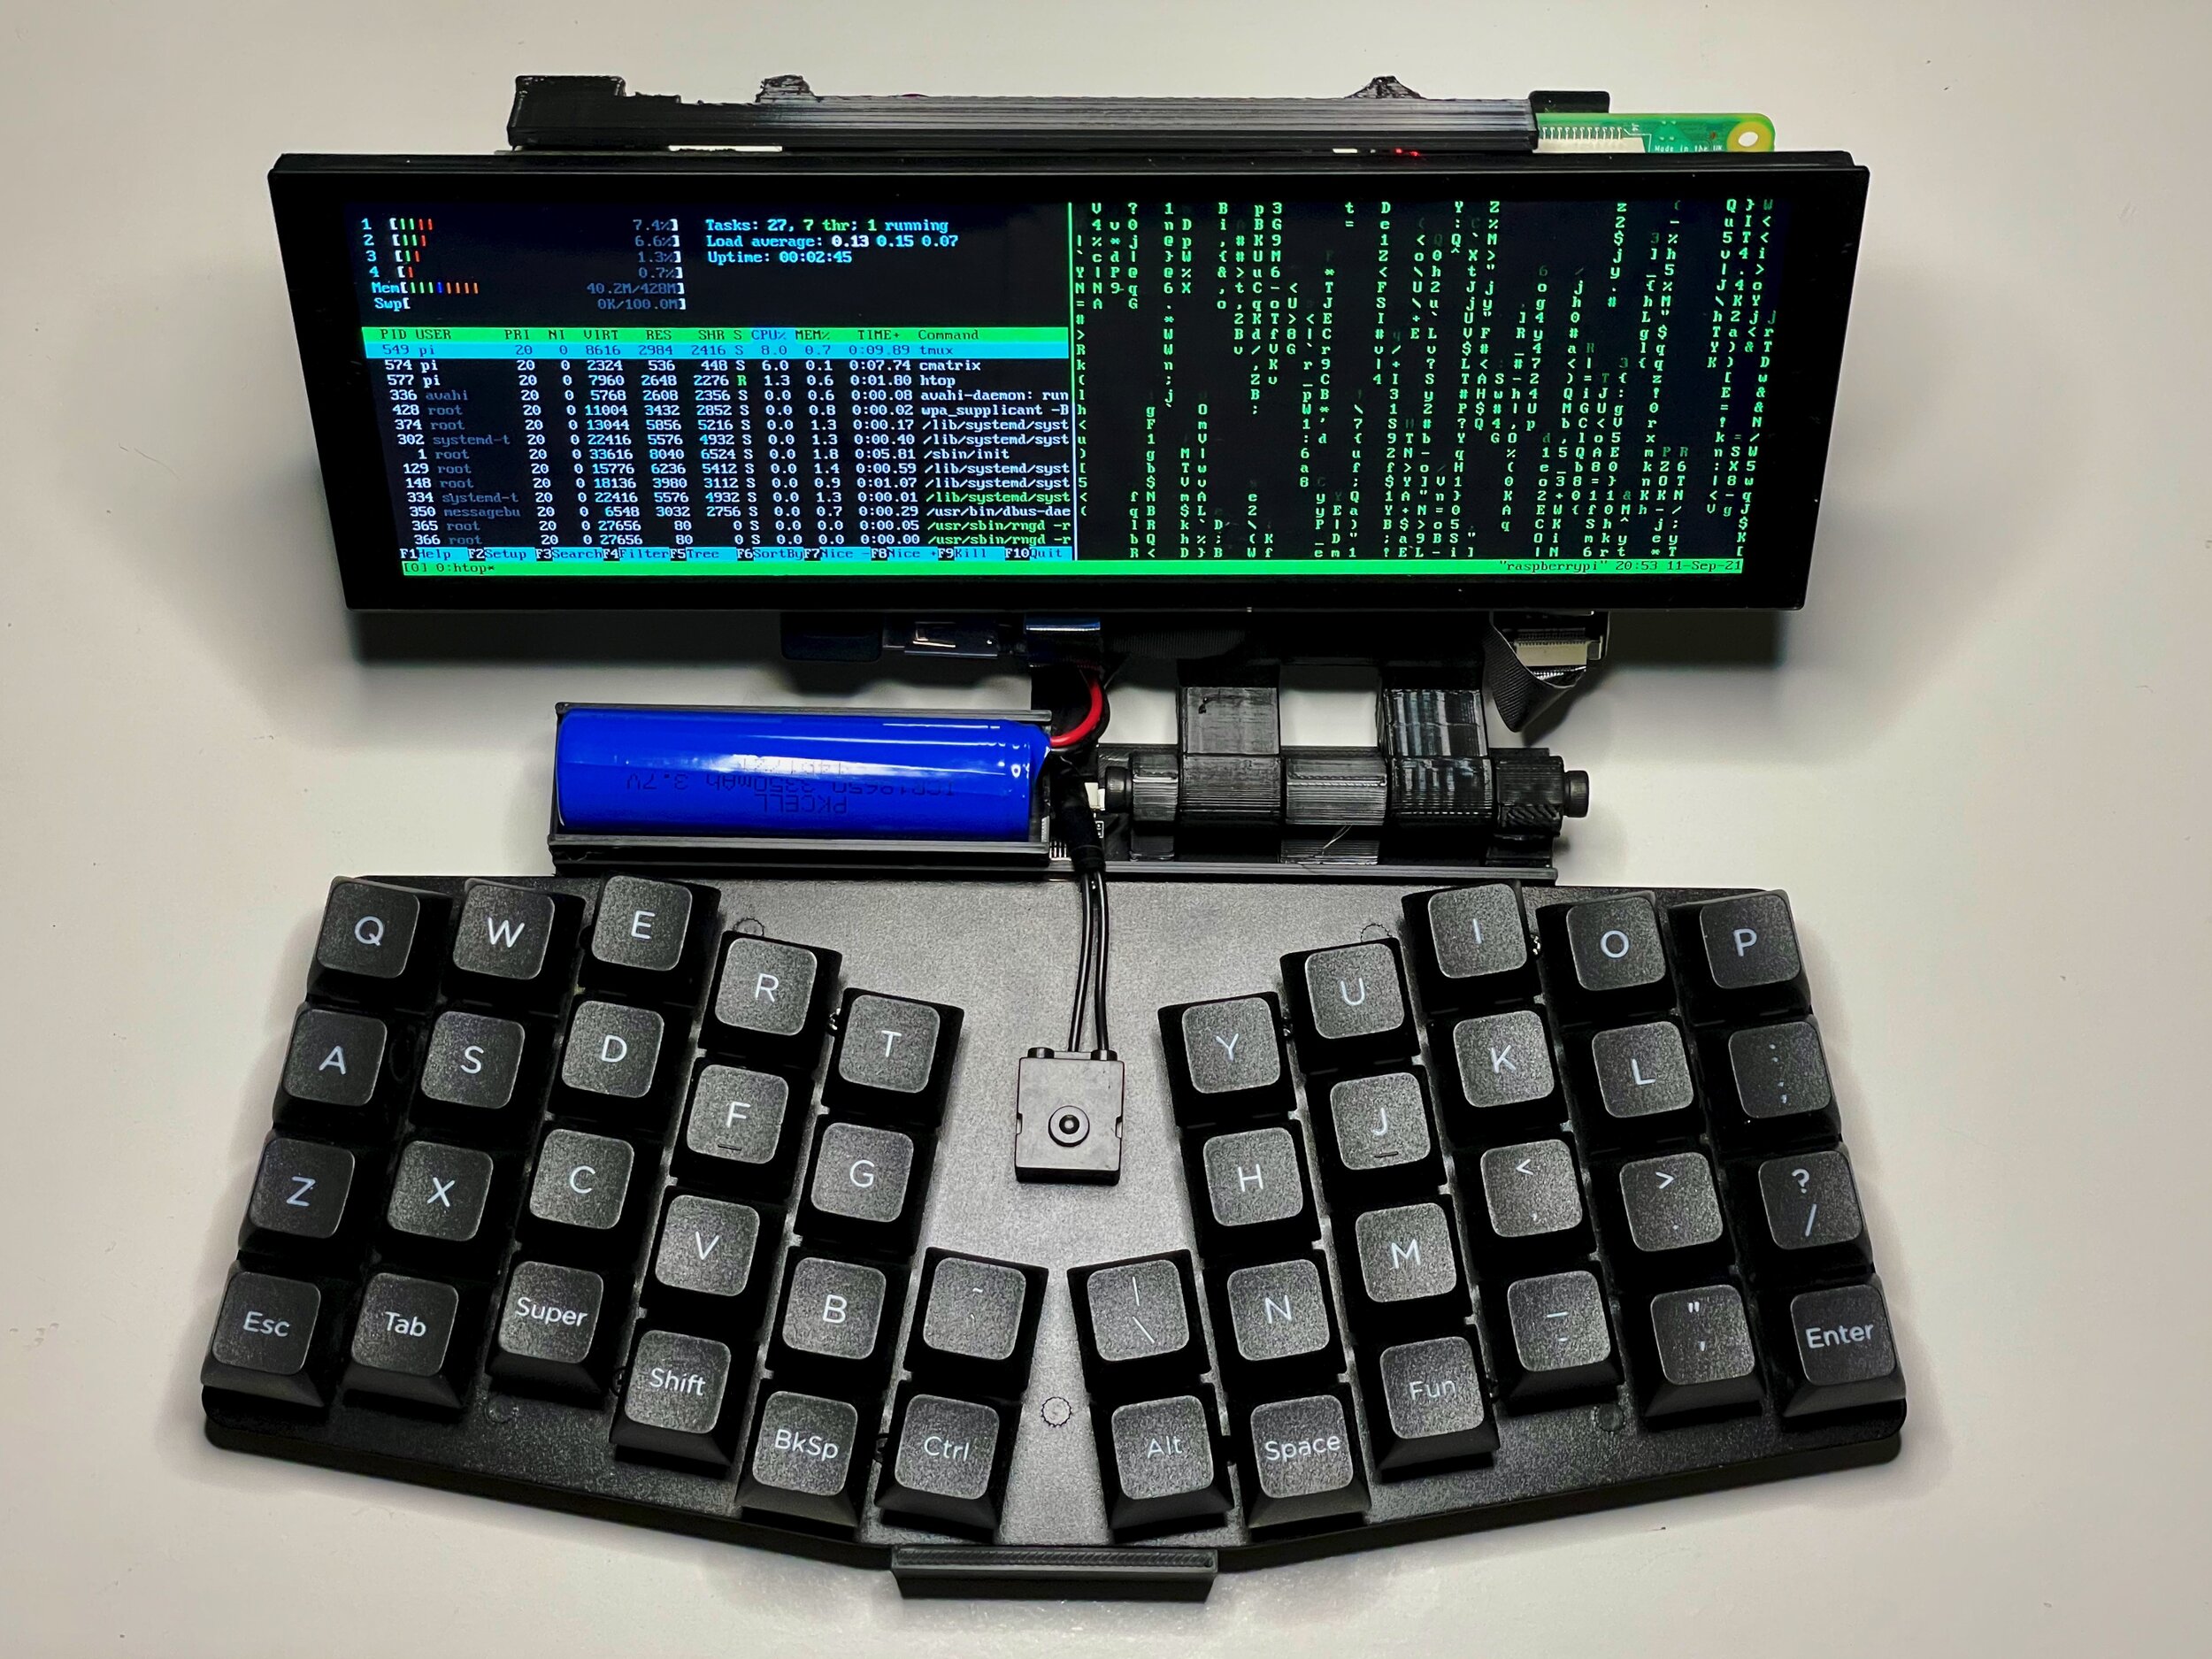
So I hit upon the idea of making some kind of exposed framework on which to attach everything and that led me to try to make a "skeletal" cyberdeck. I wanted it to be portable and fit on a tiny seat-back flip-down tray so that I could use it on my 1-hour train journeys into London for work. I wanted the keyboard to be ergonomic. And I wanted to have a spare USB port or two so that I could plug in a USB DAC for listening to music.
My background is in news photography and at one time I was a Japanese-English translator, so building this with no engineering expertise was a real learning experience. It's taken me about a month and 30 or so incremental prints to get to this point. I really struggled with finding a power supply and making wiring that could run the Raspberry Pi and accessories, and the process of building a hinge taught me that despite seeing hinges everywhere in daily life, I never really understood how they worked.
I hope that somebody like me, who has no training or education in computers, electronics, design etc., sees this and gives building their own deck a try.

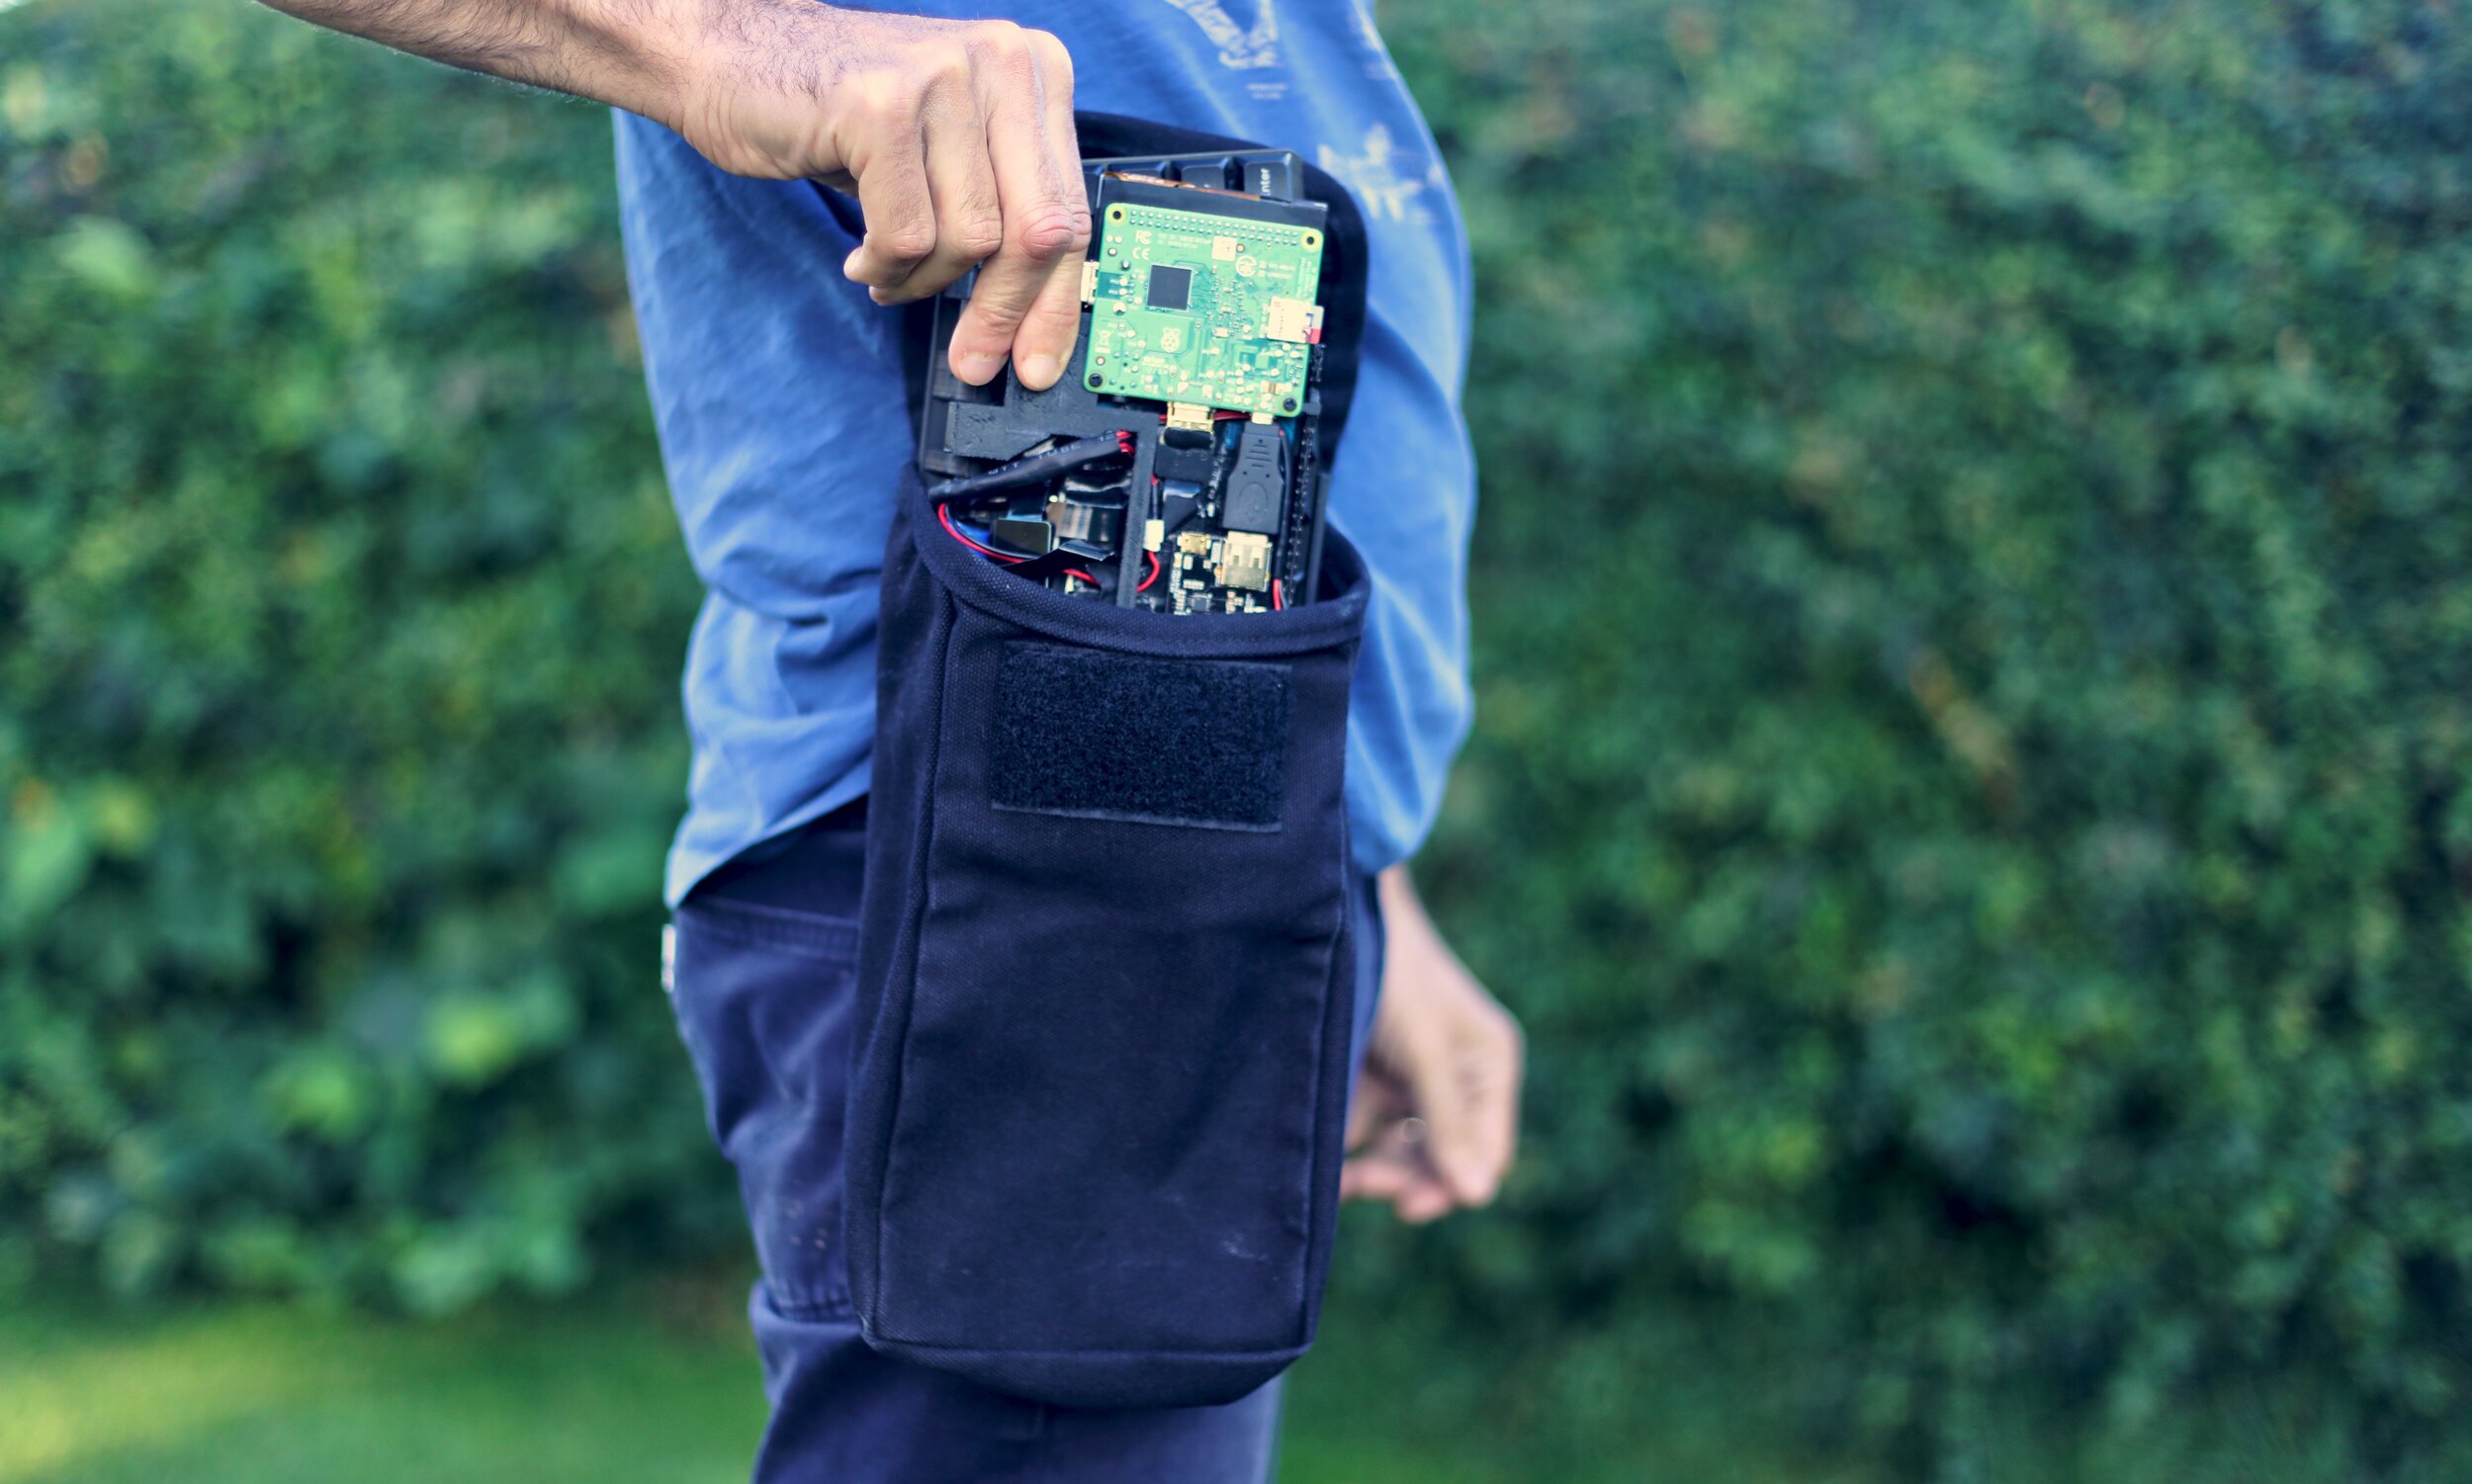
I'm pretty happy with the result. It runs for about and hour and a half on a single 18650 cell and I can fit it a Domke photo pouch on my belt. But I think it's only 75% done. Someday, when I have the skills, I want to replace the pre-built keyboard with something home-made and I'm considering adding a roll cage or something else protective that will still allow the internals to be viewable.
Parts List:
OS: Raspberry OS Lite
Raspberry Pi 3A+
Waveshare 1280 by 400 7.9" touch LCD
Keyboard.io Atreus
DF Robot MP2636 Power Booster and Charger
3350mAH mAh Lithium Ion Battery Pack
DIY HDMI and USB ribbon cables
On/Off switch for battery
A tiny USB hub I got somewhere in 2004